[HAI5016] Simple RAG indexing

Get our local project ready
After working with development containers in GitHub Codespaces for a bit, let’s return back to our own systems and use a local development environment for this project.
Disclaimer: This blog provides instructions and resources for the workshop part of my lectures. It is not a replacement for attending class; it may not include some critical steps and the foundational background of the techniques and methodologies used. The information may become outdated over time as I do not update the instructions after class.
Make sure we have the latest versions of our tools
To make sure that we’re all on the same page and using the latest features and fixes, it’s important to keep our development tools up to date. Below are the steps to update UV and Visual Studio Code (VS Code).
Update UV
- Open your terminal (PowerShell in Windows, or Terminal in macOS).
-
Run the following command to update UV to the latest version:
1

uv self update
If you did not install UV yet, follow the instructions in Get your systems ready to install it first.
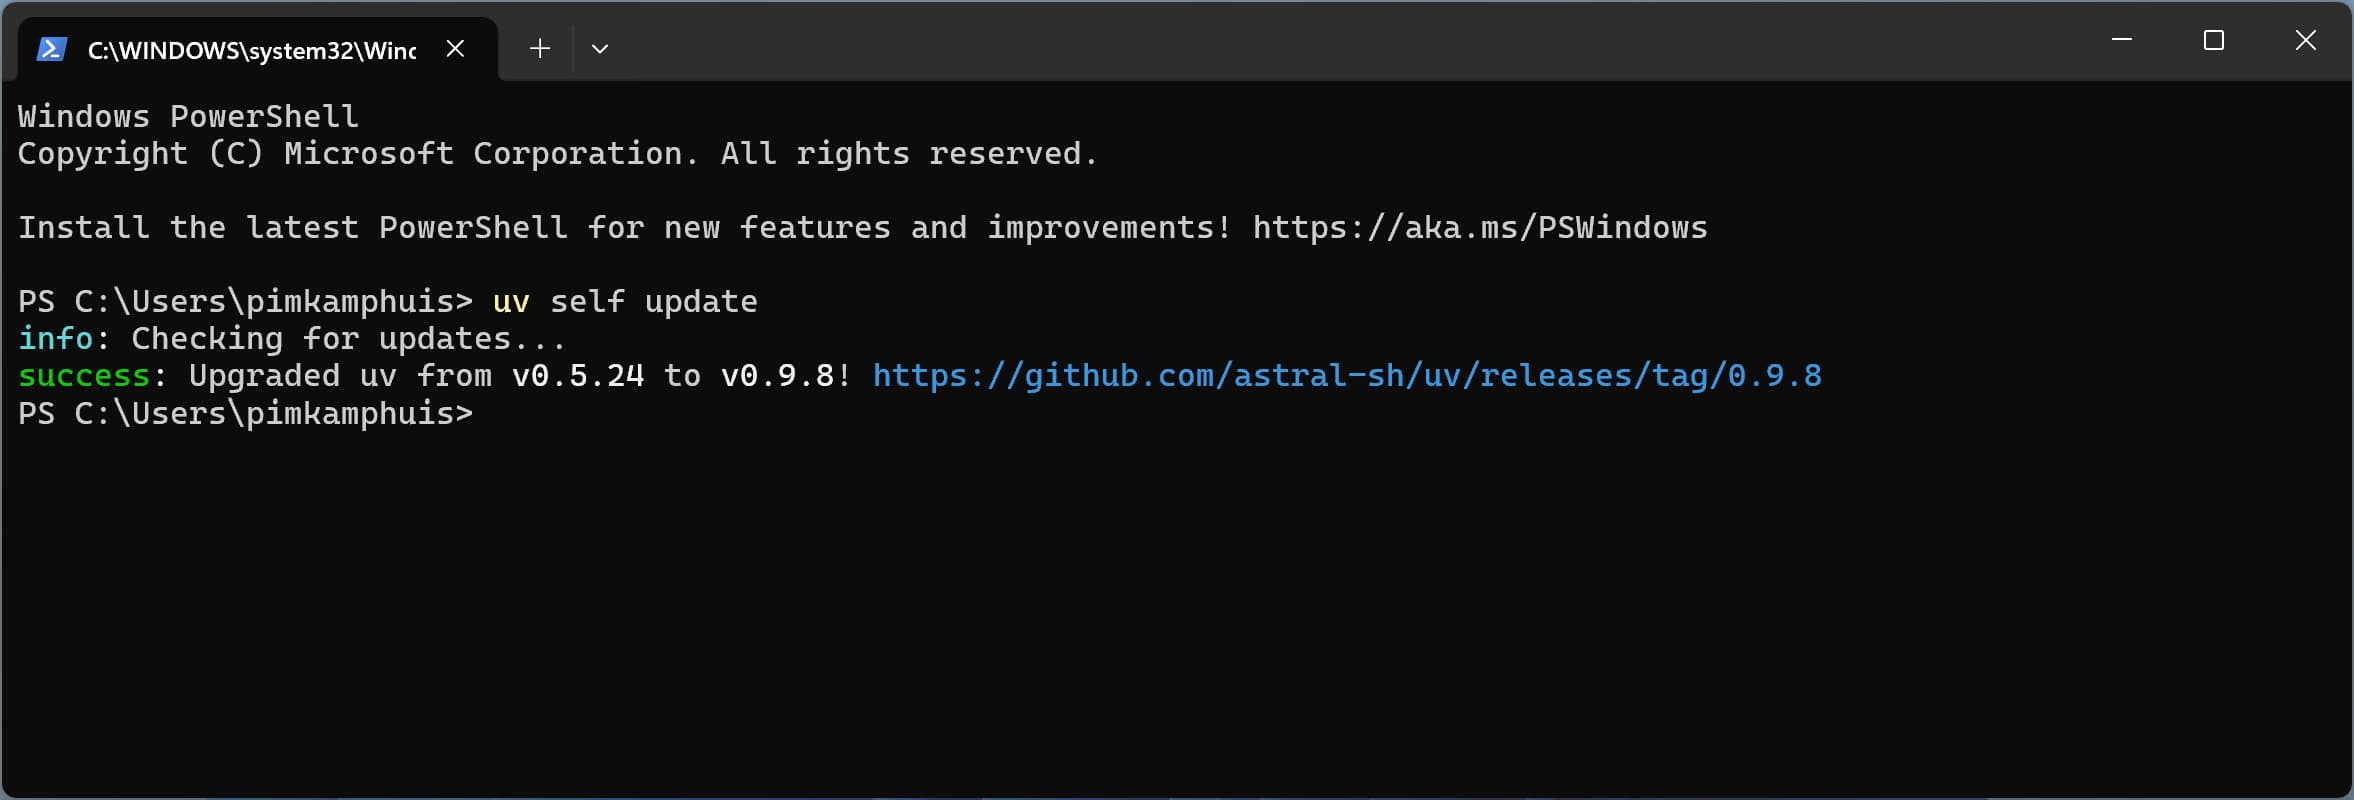 Isn’t it sweet how UV can update itself?
Update VS Code
- Open Visual Studio Code.
- Find the gear icon in the bottom of the Activity Bar on the left side of the window and click on it to open the settings menu.
- Select “Check for Updates”.
- If updates are available, click on the “Update” button to install them.
Create our next project
Now that we have the latest versions of our tools, let’s create our next folder and initiate a Python project using UV.
- Open your terminal.
-
Navigate to your
Developerdirectory:1
cd ~/Developer -
Run the following command to create a new UV project:
1

uv init hai5016-rag
-
Navigate into the newly created project directory:
1

cd hai5016-rag -
Explore the files created by UV:
1

ls -
Open the folder in VS Code:
1

code .
The total command sequence should look something like this:
 And it goes a little some like this 🎶
Create .env file and add to .gitignore
- Make sure that VS Code is opened in the project folder you just created with UV
- In the root directory of your project, create a new file named
.env - Open the
.envfile and add the following lines to it:1 2 3 4
GOOGLE_API_KEY= LANGSMITH_API_KEY= LANGSMITH_TRACING="false" SUPABASE_CONNECTION_STRING=
- Save the
.envfile. -
In the source control panel of VS Code, make sure that the
.envfile is not being tracked by git. Right-click on the.envfile and selectAdd to .gitignoreif it is not already ignored.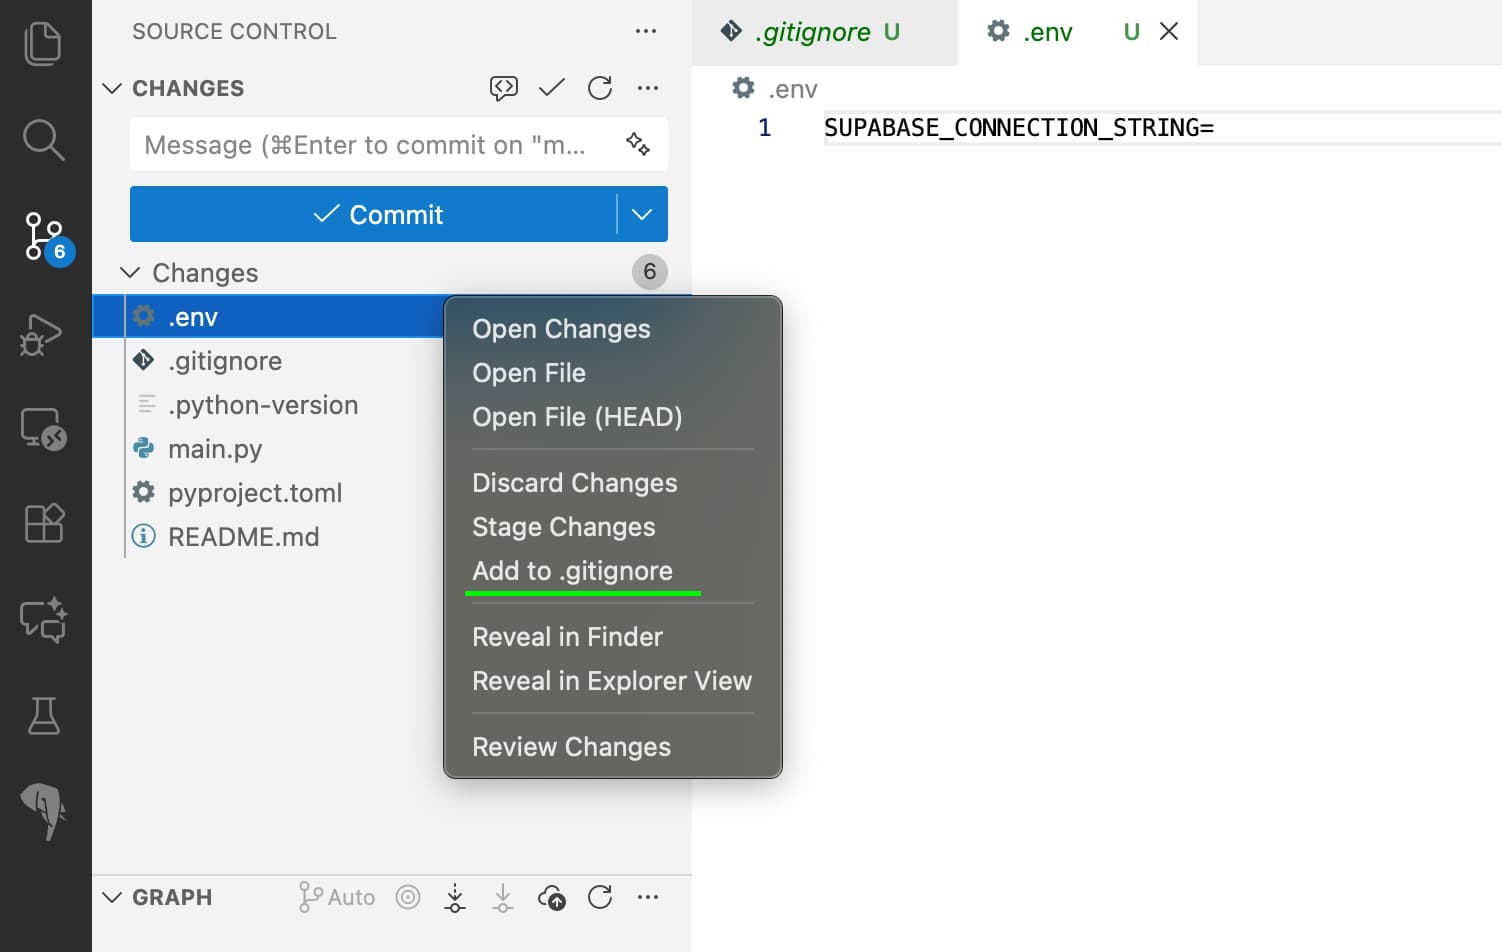 Always remember to keep your secrets safe!
The
.gitignorefile will be opened, and you should see the.envfile listed there.Did you really read point 5? Keeping your
.envfile out of version control is crucial to protect sensitive information like API keys and database connection strings from being exposed publicly!
Push the new repo and initial commit to GitHub
- Review the changes in the source control panel of VS Code. You should see the new files created by UV listed under “Changes”. Make sure that the
.envfile is not listed here. - In the source control panel of VS Code, enter a commit message like
Initial commit for RAG projector have GitHub Copilot suggest one for you. - Press
Commit - VS Code will probably notice that the repository is not yet linked to a remote GitHub repository.
- Click on
Publish Branchto push your main branch to GitHub. - Follow the prompts to create a new repository on GitHub, go for the Public repository option if you’re comfortable with that.
- If successful, you should see a notification that the branch has been published.
- Click on
Open on GitHubto view your new repository online.
 Take a look at your brand new repository on GitHub
- Have a look at your repository on GitHub and double check if your
.envfile is not present in the repository.
- Click on
Create a Supabase Account, Project and (PostgreSQL) Database
- Go to supabase.com and click on
Start your project(or sign in if you already have an account). - To keeps things easy, I recommend to select
Continue with GitHubwhen signing up. If not, just fill in the required details. - It will ask you to create a new organization.
- You can name it whatever you like, for example,
HAI5016 - Select the free plan and click on
Create new organization
- You can name it whatever you like, for example,
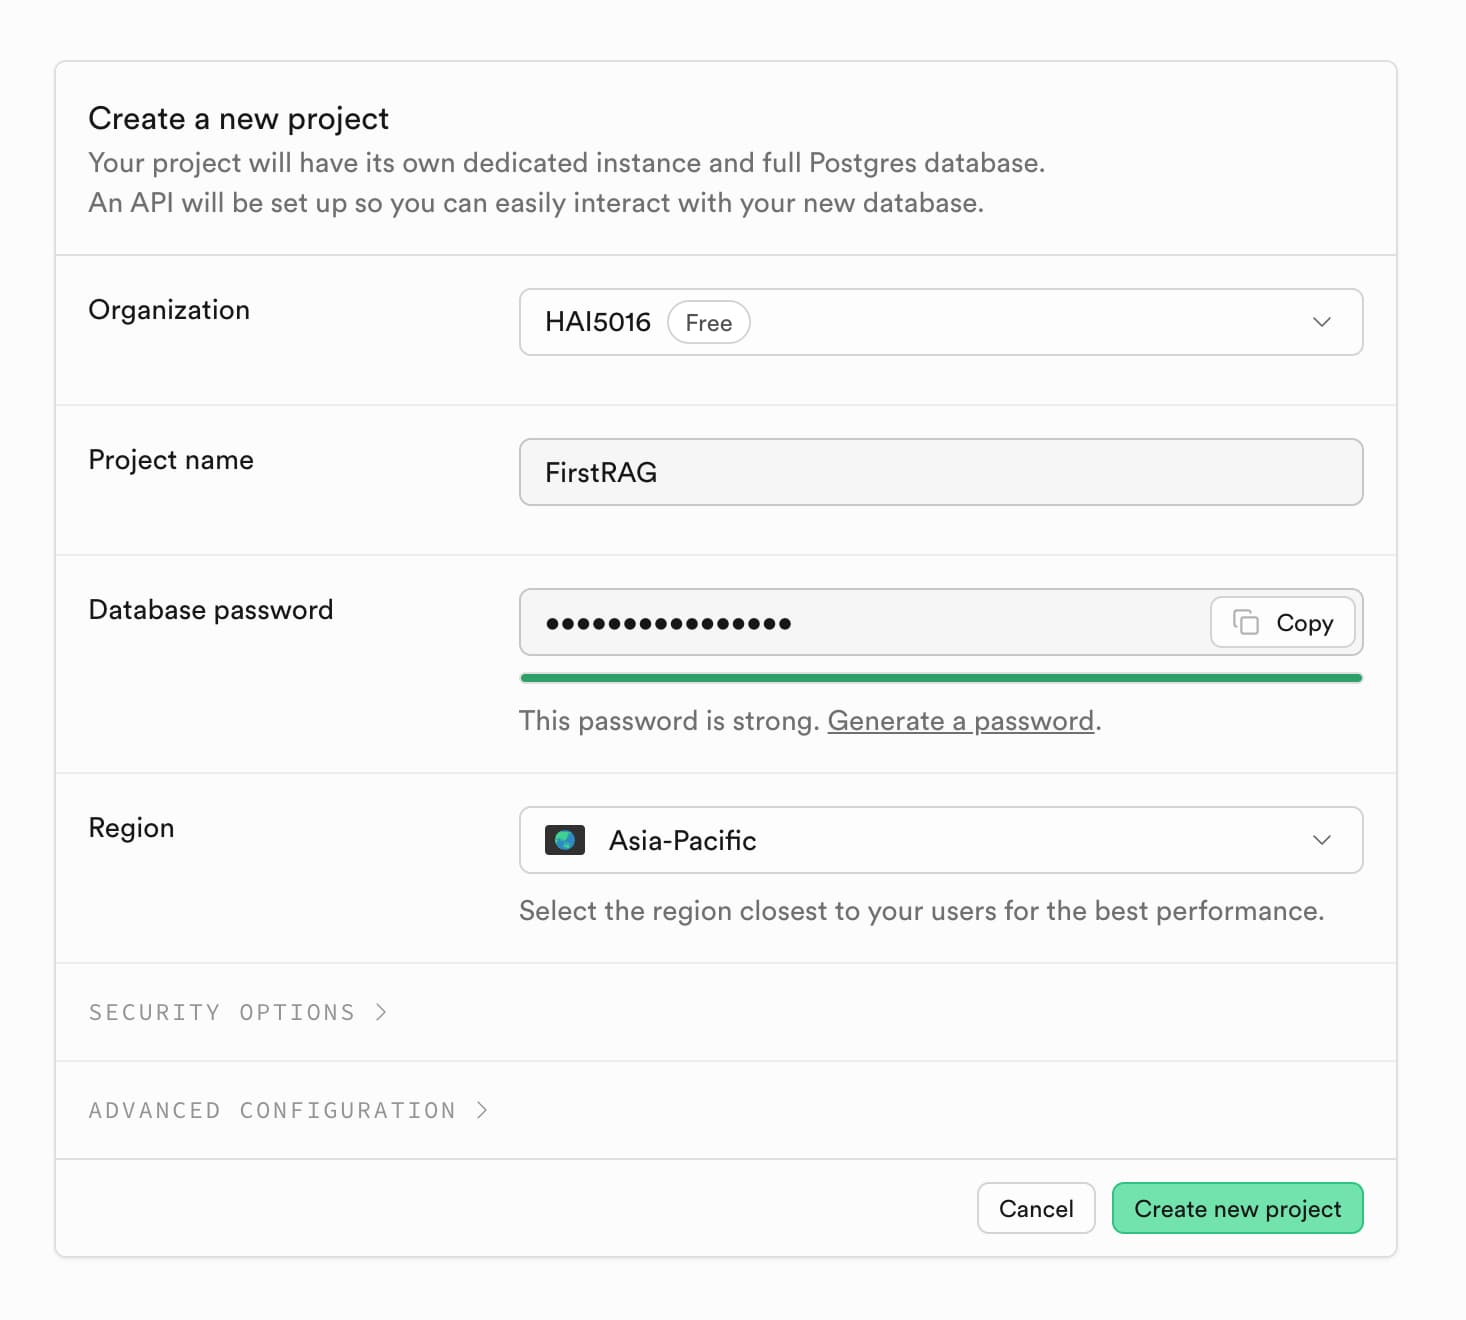
- Create a new project:
- Select the organization you just created
- Enter a name for your project, e.g.,
FirstRAG - Click the
Generate a passwordbutton to create a strong password for your database, copy it and store it somewhere safe (you will need it later) - Select the region closest to you
- Click on
Create new project - Keep the default settings and click on `Create new project
Congratulations! You have successfully created your Supabase account and project. Now let’s get the PostgreSQL connection details you will need later.
- Find the
connectbutton somewhere on the project dashboard and click on it. - A modal will appear with the connection details. Make sure to look for or set the right parameters to find the correct connection string:
- Type: URI
- Source: Primary database
- Method: Session pooler (shared pooler)
 Can you feel the connection?
 - Copy the connection string and paste it directly after
SUPABASE_CONNECTION_STRING=in the.envfile in your project folder - Complete the connection string with the password you saved earlier. The connection string should look something like this:
postgresql://postgres.randomstring:YOUR_PASSWORD@some-cloud-location.pooler.supabase.com:5432/postgres
Replace YOUR_PASSWORD with the database password you saved earlier. Make sure to remove the square brackets so they are not included in the connection string.
- Save the
.envfile.
Get your Gemini API Key
For this project we will be using Google’s Gemini LLMs for both chat and embeddings. There fore, we need to obtain an API key from Google Cloud to access the Gemini API.
- Go to the Google AI Studio
- Go to
API Keys - Create a new API key if you haven’t done so already
- Copy the API key to your clipboard
- Go back to the
.envfile and replaceGOOGLE_API_KEY=with the actual API key you copied. - Save the file
Let’s build!
The rest of this tutorial will be based on LangChain’s Build a RAG agent with LangChain. LangChain provides a great starting point for building RAG applications, and we will adapt their example to work with our Gemini API key and Supabase PostgreSQL database.
Add the needed Python packages
To get started, we need to install the required Python packages for our RAG application. We will use UV in our terminal to manage our Python environment and install the necessary packages:
- Open a terminal in VS Code (you can do this by clicking on “Terminal” in the top menu and selecting “New Terminal”)
-
Run the following command to add the required packages to your project:
1

uv add ipykernel langchain langchain-text-splitters langchain-community langchain-google-genai langchain-postgres bs4 psycopg2-binary
This singe command will quickly create a Python virtual environment for our project (if not already created), install all the listed packages into that environment and update our pyproject.toml accordingly. You can see this in the file explorer in VS Code, and see the changes in the source control panel.
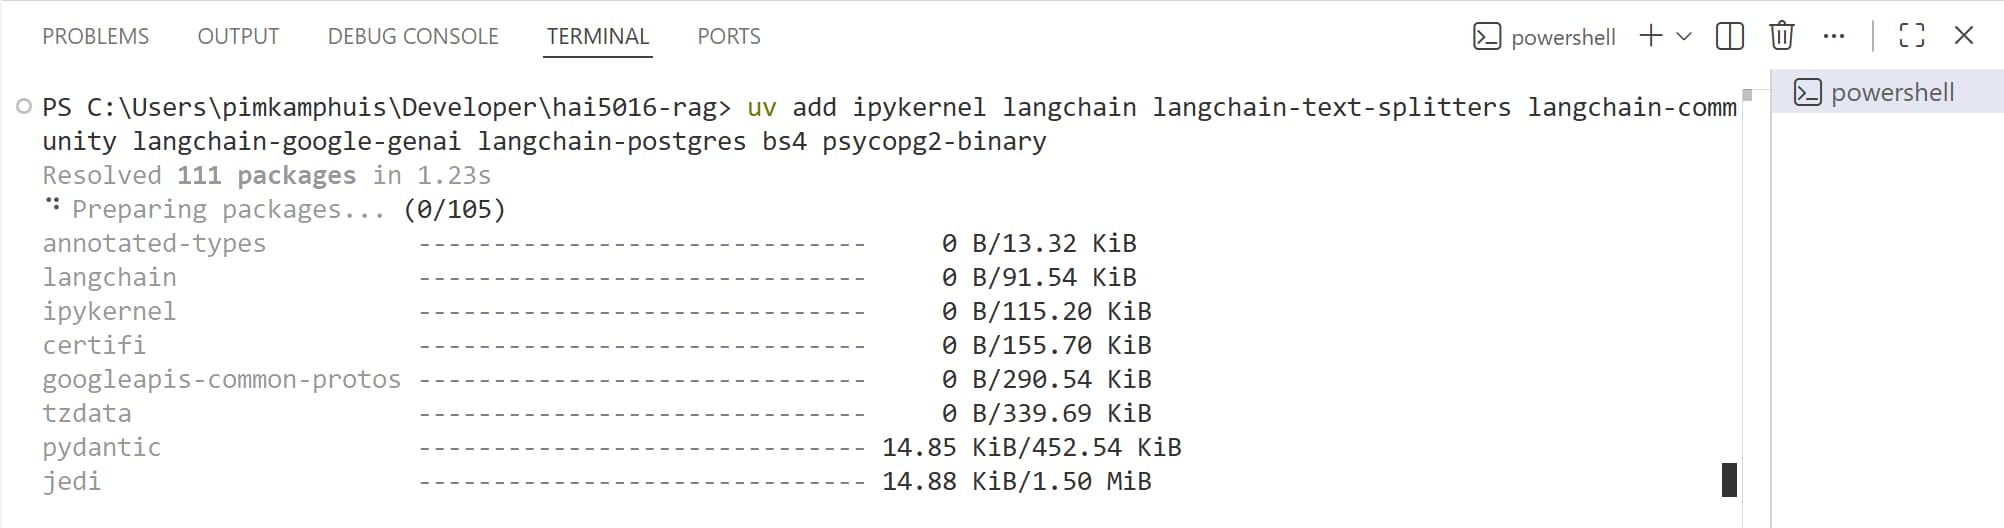 Where have yoUVe been all my life?
After creation, VS Code may detect the newly created Python Environment/kernel and prompt you to select the Python interpreter for the project. This is okay, so you can click yes.
Because we made meaningful changes to our project’s code, it’s a good idea to commit these changes to our Git repository. This way, we can keep track of the changes and ensure that our project remains consistent across different environments.
Check if it’s all working by activating the Python virtual environment.
Now this is what success looks like
The command to activate the virtual environment depends on your operating system. To make it easier to remember, it is a good idea to add the command in your readme.md file for future reference.
Create a new Jupyter Notebook
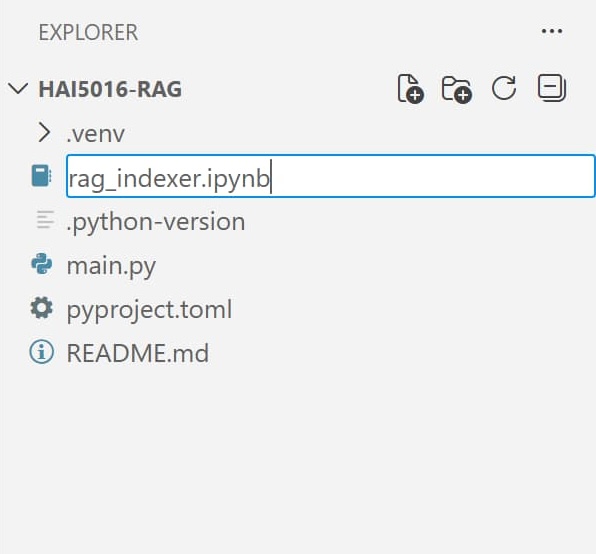
- In the VS Code file explorer, click on the “New File” icon.
- Name the file
rag_indexer.ipynb - Open the newly created Jupyter Notebook file.
- If a kernel is not already selected, click on
select kernelin the top right corner of the notebook interface and select the Python virtual environment created by UV for this project (.venv/bin/pythonor.venv\Scripts\python.exe).
Import the necessary libraries
- Create a new code cell in the Jupyter Notebook. VS Code should be smart enough to select python as the language for the cell.
- Copy and paste the following code into the cell to import the required libraries:
1
2
3
4

import os

from langchain.chat_models import init_chat_model
from langchain_postgres import PGVector
Set the Gemini models for chat and embeddings
1
2
3
4
5
6
7
8

if not os.environ.get("GOOGLE_API_KEY"):
    print("Please set the GOOGLE_API_KEY environment variable.")

model = init_chat_model("google_genai:gemini-2.5-flash-lite")

from langchain_google_genai import GoogleGenerativeAIEmbeddings

embeddings = GoogleGenerativeAIEmbeddings(model="models/gemini-embedding-001")
Prepare the connection to Supabase PostgreSQL for vector storage
1
2
3
4
5
6
7
8

if not os.environ.get("SUPABASE_CONNECTION_STRING"):
    print("Please set the SUPABASE_CONNECTION_STRING environment variable.")

vector_store = PGVector(
    embeddings=embeddings,
    collection_name="lilianweng_blog",
    connection=os.environ["SUPABASE_CONNECTION_STRING"],
)
Loading document(s)
For the sake of demonstration, we will quickly download a lengthy article from the web and save it into our documents object.
1
2
3
4
5
6
7
8
9
10
11
12
13
14
15
16
17
18
19

import bs4
from langchain_community.document_loaders import WebBaseLoader

# Only keep post title, headers, and content from the full HTML.
bs4_strainer = bs4.SoupStrainer(class_=("post-title", "post-header", "post-content"))
loader = WebBaseLoader(
    web_paths=([
    "https://lilianweng.github.io/posts/2025-05-01-thinking/",
    "https://lilianweng.github.io/posts/2024-11-28-reward-hacking/",
    "https://lilianweng.github.io/posts/2024-07-07-hallucination/",
    "https://lilianweng.github.io/posts/2024-04-12-diffusion-video/",
    "https://lilianweng.github.io/posts/2023-06-23-agent/",
    "https://lilianweng.github.io/posts/2023-03-15-prompt-engineering/"
]),
    bs_kwargs={"parse_only": bs4_strainer},
)
docs = loader.load()

print(f"Total characters: {len(docs[0].page_content)}")
You can check what the first 500 characters of the first document look like by running:
1

print(docs[0].page_content[:500])
Splitting documents
Because the document is quite lengthy, we will split it into smaller chunks to make it easier to use it in our LLM. We will use LangChain’s RecursiveCharacterTextSplitter for this purpose.
1
2
3
4
5
6
7
8
9
10

from langchain_text_splitters import RecursiveCharacterTextSplitter

text_splitter = RecursiveCharacterTextSplitter(
    chunk_size=1000,  # chunk size (characters)
    chunk_overlap=200,  # chunk overlap (characters)
    add_start_index=True,  # track index in original document
)
all_splits = text_splitter.split_documents(docs)

print(f"Split blog post into {len(all_splits)} sub-documents.")
You can see by the output that the document has been split into X multiple sub-documents.
Storing the splits (chunks) in the vector database
1
2
3

document_ids = vector_store.add_documents(documents=all_splits)

print(len(document_ids))
Check how the chunks and embeddings look like in the database
At this point its a good idea to log into your Supabase dashboard and check how the chunks and embeddings look like in the database.
- Open your Supabase dashboard
- Find your project and click on it
- Go to the
Table Editorin the left sidebar -
Explore the
langchain_pg_tables that we just created to see what the data looks like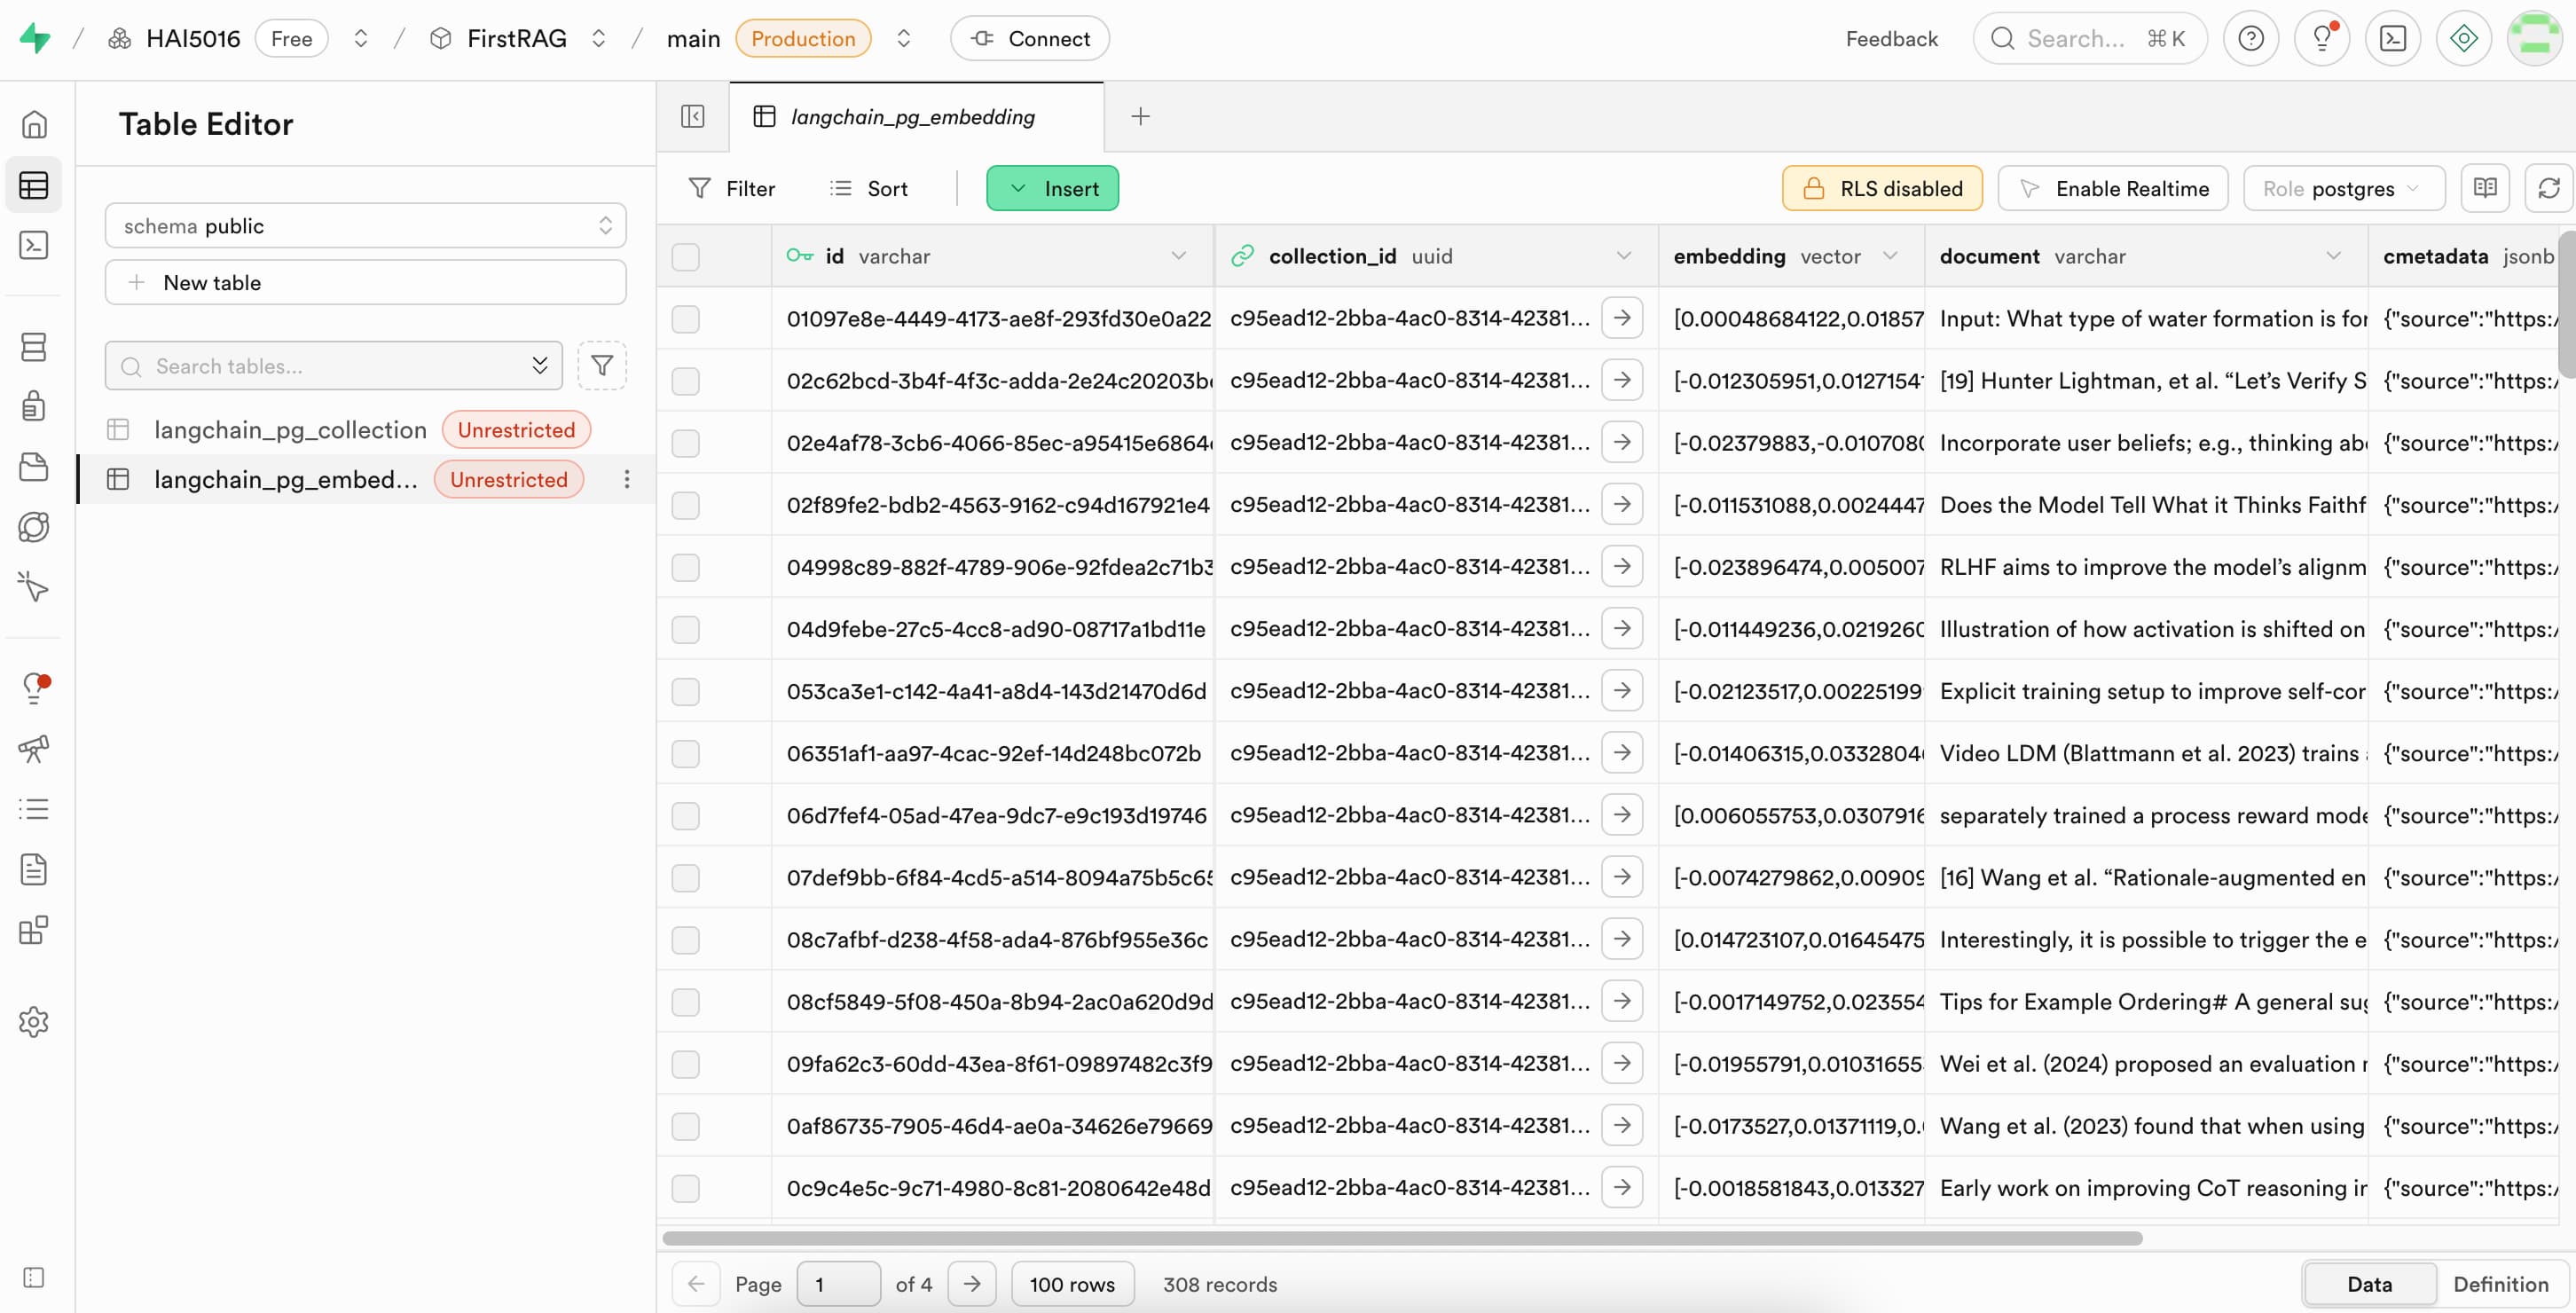 A nice overview of our chopping board
Commit and push your changes to GitHub
You know the drill by now. Time to commit and push your changes to GitHub!