[HAI5016] Get your systems ready
Before we can start working on our projects this semester, we need to make sure that our systems are ready. This guide will help you set up your system with the necessary tools and software.
Disclaimer: This blog provides instructions and resources for the workshop part of my lectures. It is not a replacement for attending class; it may not include some critical steps and the foundational background of the techniques and methodologies used. The information may become outdated over time as I do not update the instructions after class.
In today’s class we will walk through the following steps:
- Get familiar with the terminal (CLI)
- Install git on your system
- Install UV on your system
- Install Visual Studio Code on your system
- Create your first project
The terminal (CLI)
I assume that most of us are familiar with graphical user interfaces (GUIs), where we interact with our computers using windows, icons, and menus. However, more structured tasks, such as development tasks are often more efficiently performed using the terminal.
The terminal (or command line interface, CLI) is a powerful tool that allows you to interact with your computer using text commands. It may seem intimidating at first, but it’s an essential skill for any developer or AI Engineer.
To get a bit familiar with the terminal, we will use it today to install the necessary tools for this course. Before we dig into the installation steps, let’s take a look at some basic terminal commands:
| Command | Description | Example | |
|---|---|---|---|
pwd |
Print working directory - shows the current directory you are in | pwd |
|
ls (or dir) |
List files and directories in the current directory |
ls or ls -la (to show hidden files) |
|
cd |
Change directory - navigate to a different directory |
cd Documents (to go to the Documents folder) |
|
mkdir |
Make directory - create a new directory | mkdir my-folder |
|
rm |
Remove - delete files or directories |
rm my-file.txt or rm -r my-folder (to delete a folder and its contents) |
|
echo |
Print text to the terminal | echo "Hello, World!" |
|
code . |
Open the current directory in Visual Studio Code | code . |
Some more useful info for using the terminal:
- You can usually copy and paste commands into the terminal using
Ctrl + CandCtrl + V(orCmd + CandCmd + Von macOS) - You can use the
Tabkey to auto-complete commands and file names - You can use the
UpandDownarrow keys to navigate through your command history - You can use
~to represent your home directory (e.g.,cd ~to go to your home directory) - When Visual Studio Code is installed, you can use the command
code .to open the current directory in Visual Studio Code
1. Install git
In order to clone and push your repositories to GitHub, you need to have git installed on your system. You can check if you have git installed by running the following command in your terminal:
- In Windows or macOS open the terminal application and run:
git --version
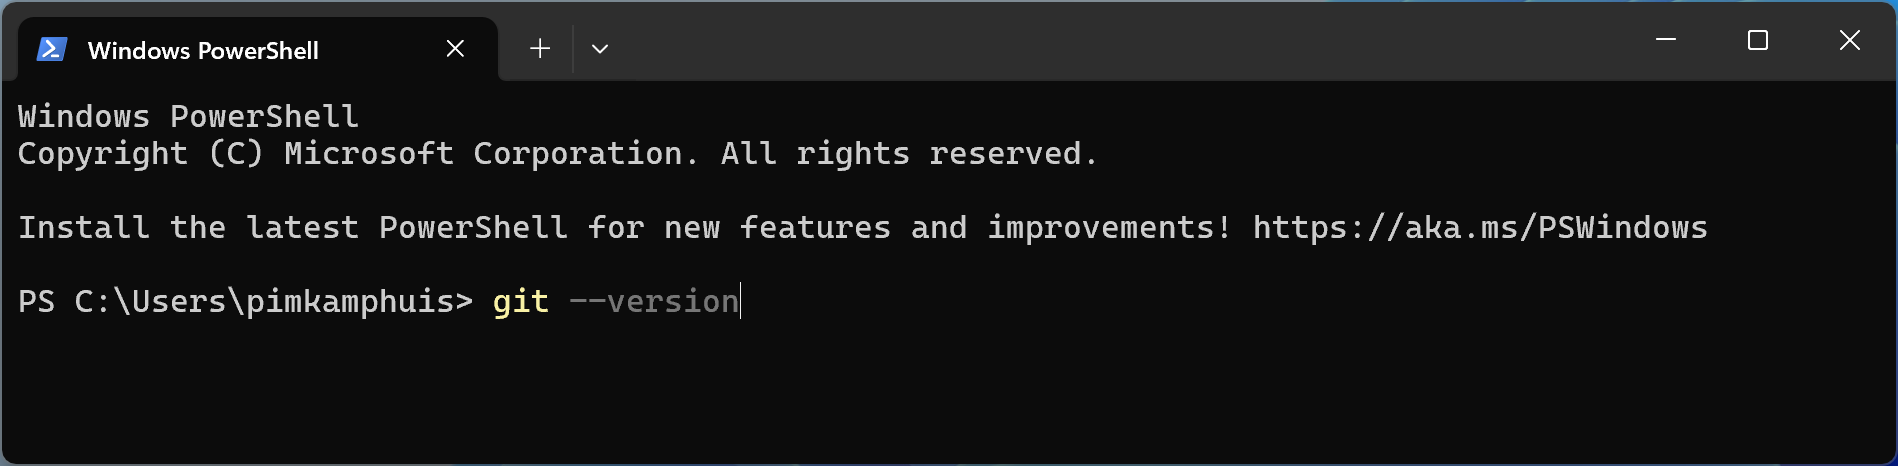 Running the git –version command in the terminal
If you see a version number, you have git installed. If not, you can install it by following the instructions below:
-
On Windows: If Git is not installed, you can run the following in the terminal to install it:
1

  winget install --id Git.Git -e --source winget
-
On macOS: Recent versions of macOS may show a pop-up asking if you want to install the command line tools when you try to get the git version. If you don’t see this pop-up, you can install the command line tools by running the following command in your terminal:
1

  xcode-select --install
If you want to check if the installation was successful, you may have to exit/close your terminal session before you can run
git --versionagain.
1.1 Set up your git credentials
After installing Git for the first time, you’ll need to let the system know who you are and set up your git credentials. You can do this by running the following commands in your terminal (replace the email and name with your own):
1

git config --global user.name "Your Name"
1

git config --global user.email "your.email@example.com"
This information will be used to identify you as the author of the code commit (version changes) that you make in your or your team’s repositories
Now you can check if your credentials were set up correctly by running the following commands:
1

git config --list
2. Install UV
UV is an ‘extremely fast Python package and project manager, written in Rust.’ We will use UV for this course because it will take care of the installation of Python, managing your Python virtual environments and installation of dependencies (Python libraries, packages) very efficiently.
The installation of UV is also a breeze. In your terminal, run the following command:
- On Windows:
1

powershell -ExecutionPolicy ByPass -c "irm https://astral.sh/uv/install.ps1 | iex"
- On macOS/Linux:
1

curl -LsSf https://astral.sh/uv/install.sh | sh
Again, you may have to exit/close your terminal session before you can use the
uv --versioncommand. If you fail to install UV using the above commands, please refer to the UV installation guide for more detailed instructions.
For Windows ARM users
In the unlikely event that you are using Windows 11 on an ARM-based system (like me), installing the latest version of UV might lead to installation of x86_64 Python versions, which will not work on your system. If you installed the latest version of UV, you can uninstall it by following the uninstallation instructions and then install version 0.5.24 by running the following command in your terminal:
powershell -ExecutionPolicy ByPass -c "irm https://astral.sh/uv/0.5.24/install.ps1 | iex"
3. Install Visual Studio Code
We can also install Visual Studio Code (VS Code) using the terminal. VS Code is a popular code editor that we will use for writing and editing our code.
- On Windows you can also run the following command in the terminal:
1

  winget install Microsoft.VisualStudioCode
- On macOS you can use Homebrew to install it by running the following command in your terminal:
1

  brew install --cask visual-studio-code
If you do not have Homebrew installed, or your terminal somehow does not want to install Visual Studio Code, you can also download the installer from the Visual Studio Code website.
4. Create your first project
To make it easier for you to follow along with the demos and exercises during this course, I recommend creating a ~/Developer folder in your home directory to keep all your data and coding projects in one place.
- Open your terminal. It should open in your home directory by default. You can check this by running the
pwdcommand.- If you are not in your home directory, you can navigate to it by running:
cd ~
- If you are not in your home directory, you can navigate to it by running:
- Create a
Developerfolder by running:mkdir Developer - Navigate to your new
~/Developerfolder by running:cd Developer - Create a new directory for your project by running:
mkdir my-first-project - Navigate to your new project directory by running:
cd my-first-project Initialize a new UV project by running:uv init- Open the project in Visual Studio Code by running:
code .Alternatively, you can open Visual Studio Code and use theFile > Open Foldermenu option to open your project folder.
Visual Studio Code might ask you to install the Python extension. Please do so, as it will make your life much easier when working with Python code.
Homework (due before Sept 23rd)
As discussed, there will be no class on Thursday, Sept 18th. Instead, please complete the following tasks before Tuesday, Sept 23rd:
- Introduction to GitHub
- GitHub skills: Communicate using Markdown (Lets have a look at the first steps together)
Be aware that we might view your GitHub profile to see how you have completed the above tasks during next class!