[HAI5016] Simple RAG retrieval

In the previous lecture we scraped web content, sliced it into bite-sized pieces and stored the chunks plus their semantic embeddings in a vector database. Now it’s time to feast on that data using an LLM to answer questions.
Disclaimer: This blog provides instructions and resources for the workshop part of my lectures. It is not a replacement for attending class; it may not include some critical steps and the foundational background of the techniques and methodologies used. The information may become outdated over time as I do not update the instructions after class.
Pre-Check: Resume your Supabase Instance if paused
Also got an email form Ant Wilson that Your Supabase Project FirstRAG has been paused? No worries, just click on the link in the e-mail or log in to https://supabase.com/dashboard/, find your project and click Resume project.
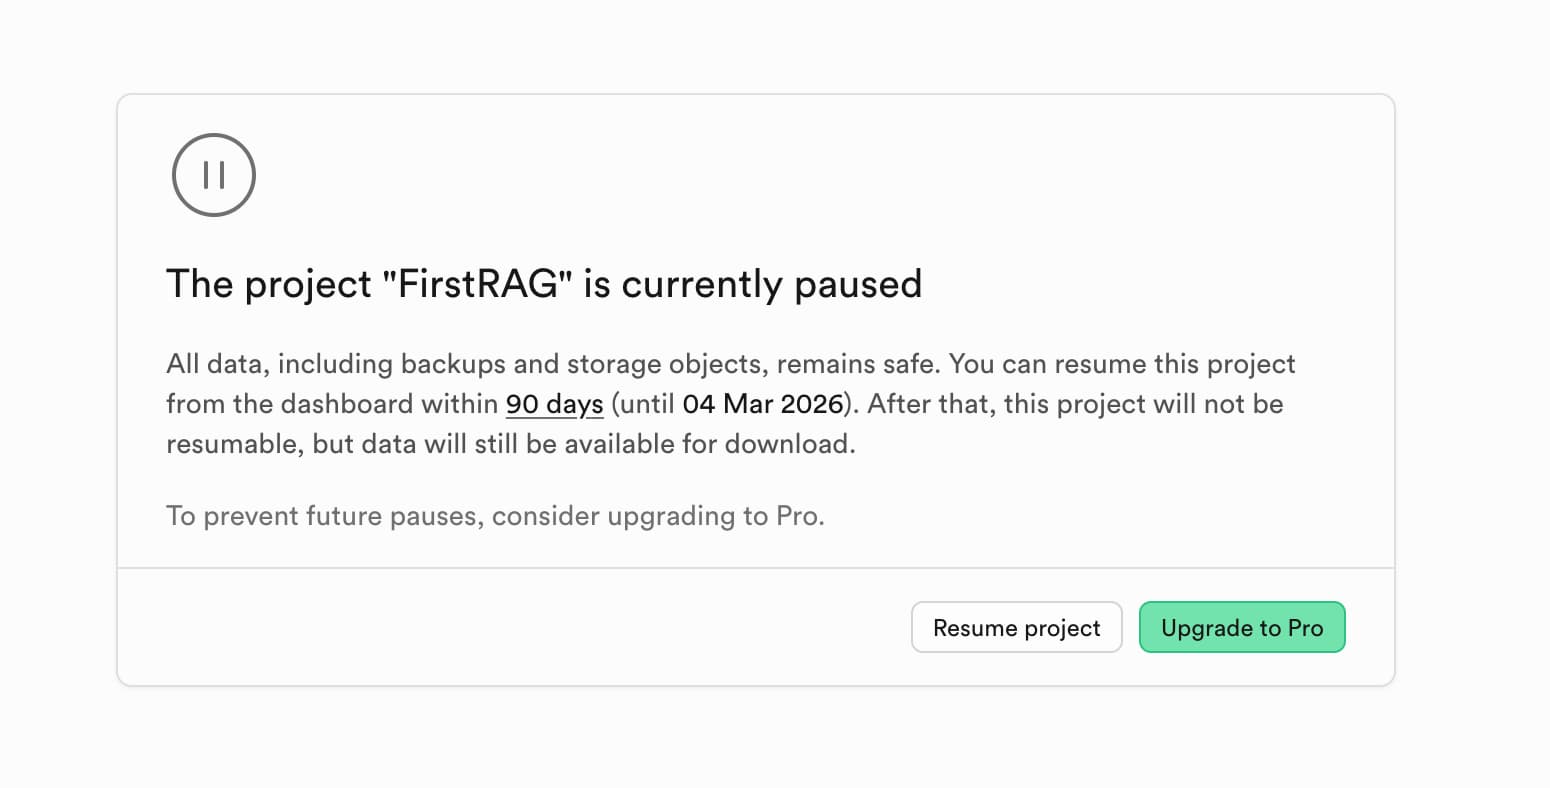 Make sure to resume your Supabase project if it has been paused.
If your project was paused you cannot make connections to the database, so the RAG retrieval will not work until you resume it.
(Optional) Create a Langsmith Account
If you would like a deeper understanding, and trace your agent’s actions to see how it retrieves information from the vector store, you can set up a Langsmith account. Langsmith is a tool by Langchain that helps you monitor and debug your applications.
- Go to https://smith.langchain.com/ and sign up for a free account. You can use your GitHub or Google account to sign up quickly.
- Click
Get started with tracingand follow the prompts to create an API key. -
Once you have your API key, add the key to the
.envfile in yourhai5016-ragproject folder:1 2
LANGSMITH_API_KEY=your_langsmith_api_key_here LANGSMITH_TRACING="true"
1. Create a Jupyter Notebook for RAG Retrieval
- Create a new jupyter notebook in your
hai5016-ragproject folder namedrag_retriever.ipynb - Then import the necessary modules for initializing a chat model, the vector store and defining tools:
1
2
3
4
5
6
7
8

from langchain.chat_models import init_chat_model
from langchain_postgres import PGVector
from langchain_google_genai import GoogleGenerativeAIEmbeddings
from langchain.tools import tool
from dotenv import load_dotenv
import os

load_dotenv()
2. Initialize the Chat and Embeddings Model
The code below initializes the Google Gemini chat model and the embeddings model. Make sure that the embeddings model name matches the one you used when creating the vector store in the previous lecture.
1
2
3
4
5
6

if not os.environ.get("GOOGLE_API_KEY"):
  print("Please set the GOOGLE_API_KEY environment variable.")

model = init_chat_model("google_genai:gemini-2.5-flash")

embeddings = GoogleGenerativeAIEmbeddings(model="models/gemini-embedding-001")
3. Set Up the Vector Store and Retrieval Tool
Now, let’s set up the vector store to retrieve our document chunks from. We’ll use the PGVector class from Langchain to connect to our Supabase database, which is built on PostgreSQL with the pgvector extension:
1
2
3
4
5
6
7
8

if not os.environ.get("SUPABASE_CONNECTION_STRING"):
    print("Please set the SUPABASE_CONNECTION_STRING environment variable.")

vector_store = PGVector(
    embeddings=embeddings,
    collection_name="lilianweng_blog",
    connection=os.environ["SUPABASE_CONNECTION_STRING"],
)
In the previous blog I wrote that the
transaction poolerconnection string should be copied from Supabase. This led to some problems, so please make sure to use thesession poolerconnection string instead. This means you should double check that the number (port) in your connection string is5432and not6543.
If you are experiencing an error here, double check that your connection string is correct and that your Supabase instance is running. Ask Copilot to help you debug connection issues. Is it the password? Then make sure to remove the brackets
[and]around the password in the connection string.
4. Define the Retrieval Tool and Create the Agent
Next, define a retrieval tool that will fetch relevant documents from our vector store based on a user query:
1
2
3
4
5
6
7
8
9

@tool(response_format="content_and_artifact")
def retrieve_context(query: str):
    """Retrieve information to help answer a query."""
    retrieved_docs = vector_store.similarity_search(query, k=2)
    serialized = "\n\n".join(
        (f"Source: {doc.metadata}\nContent: {doc.page_content}")
        for doc in retrieved_docs
    )
    return serialized, retrieved_docs
Now that we have our retrieval tool, we can create an agent that uses this tool to answer user queries. We’ll use Langchain’s create_agent function for this:
1
2
3
4
5
6
7
8
9
10

from langchain.agents import create_agent


tools = [retrieve_context]
# If desired, specify custom instructions
prompt = (
    "You have access to a tool that retrieves context from a blog post. "
    "Use the tool to help answer user queries."
)
agent = create_agent(model, tools, system_prompt=prompt)
5. Test the RAG Agent
With our agent set up, we can now test it by asking a question related to the content we ingested earlier. The agent will use the retrieval tool to fetch relevant information and provide an answer.
1
2
3
4
5
6
7
8
9
10
11

query = (
    "What is the standard method for Task Decomposition?\n\n"
    "Once you get the answer, look up common extensions of that method."
)

for event in agent.stream(
    {"messages": [{"role": "user", "content": query}]},
    stream_mode="values",
):
    last_message = event["messages"][-1]
    last_message.pretty_print()
Prettier, please!
Since we are running this in a Jupyter Notebook, we can use IPython’s display capabilities to make the output look nicer:
1
2
3

# Render the agent's last message as Markdown in the Jupyter output
from IPython.display import Markdown, display
display(Markdown(last_message.text))
Langsmith Observability
If you set up Langsmith tracing earlier, you can now go to your Langsmith dashboard to see the details of the agent’s execution, including the tools used and the retrieved documents.
If time allows: UI it!
Now that we are familiar with the Visual Studio Code environment and have a working RAG agent, let’s see if we can transform our Jupyter Notebook into a simple web application using Copilot, Context7 and common Python libraries like Streamlit.
- Save your current Jupyter Notebook code into a Python file
- With your Jupyter Notebook open, open the command palette using
Ctrl+Shift+P(orCmd+Shift+Pon Mac) - Search for
Export to Python Scriptand select it - A new Python file will be created in the same folder as your notebook
- With your Jupyter Notebook open, open the command palette using
- Save the file as
rag_app.py - Have a closer look at the code, and see how VS Code kept the cells separated using comments like
# %% - Try running the script
You will notice that the final part of the code where we test the agent is not running properly, because it is designed to run in a Jupyter Notebook environment. Let’s ask Copilot to help us transform this part of the code into a simple Streamlit web application.
- Select the last part of the code that renders the agent’s response in Markdown
- Press
crtl+i(orcmd+ion Mac) to trigger GitHub Copilot inline chat - Ask Copilot:
Just print and don't render
And then run the script again.
Working? Great! Then, commit and push your changes to GitHub.
Copilot, let’s go!
From here, see if you can build a simple chatbot that takes user input and displays the agent’s response using Streamlit components. You can ask Copilot for help by providing prompts like:
Create a user interface with Streamlit that takes user input and displays the agent's response