[HAI5016] Your First(?) LangChain Agent

In a previous class we deployed a model on Azure Foundry and sent it some questions directly through the API.
That was great, but an LLM itself can only work with whatever you feed it in the prompt; no awareness of the outside world, no memory, no way to actually do anything. Today we are going to change that: we’ll wrap our model in a LangChain agent and hand it tools so it can reach out and gain knowledge beyond its training data.
Disclaimer: This blog provides instructions and resources for the workshop part of my lectures. It is not a replacement for attending class; it may not include some critical steps and the foundational background of the techniques and methodologies used. The information may become outdated over time as I do not update the instructions after class.
Agent vs. LLM in a nutshell
An LLM on its own is like a very smart person locked in a room with no phone, no internet, and no pen. They can reason, explain, and summarise, but only from memory, and only from what you shout through the keyhole.
An agent gives that person a toolbox. You define a set of functions (tools), and the LLM decides on its own when to call them, what arguments to pass, and how to use the result to answer your question. The loop looks like this:
- The agent receives a user message
- The agent reasons about what to do
- If it needs information, it calls a tool
- The tool result is fed back to the agent
- The agent formulates a final answer
LangChain is a Python framework that makes it straightforward to build this loop. Let’s get started.
1. Create a Jupyter Notebook
-
First, let’s make sure that our Python environment has all the packages we need. I’ve summed them up for you below, so just copy and paste this command into your terminal to install them all at once:
1

uv add ipykernel langchain langchain-openai python-dotenv beautifulsoup4
- In your HAI5016 project folder, create a new Jupyter Notebook and call it
first_agent.ipynb - Double check if the notebook’s kernel is set to the Python environment where you installed the packages
-
Add the following cell at the top to import everything we need:
1
2
3
4
5
6
7
8
9
10
11

import os
import urllib.request
import urllib.error
from langchain_openai import ChatOpenAI
from langchain.agents import create_agent
from langchain.tools import tool
from dotenv import load_dotenv
from bs4 import BeautifulSoup
from IPython.display import display, Markdown

load_dotenv()
- Run the cell to make sure there are no errors and the environment variables are loaded correctly:
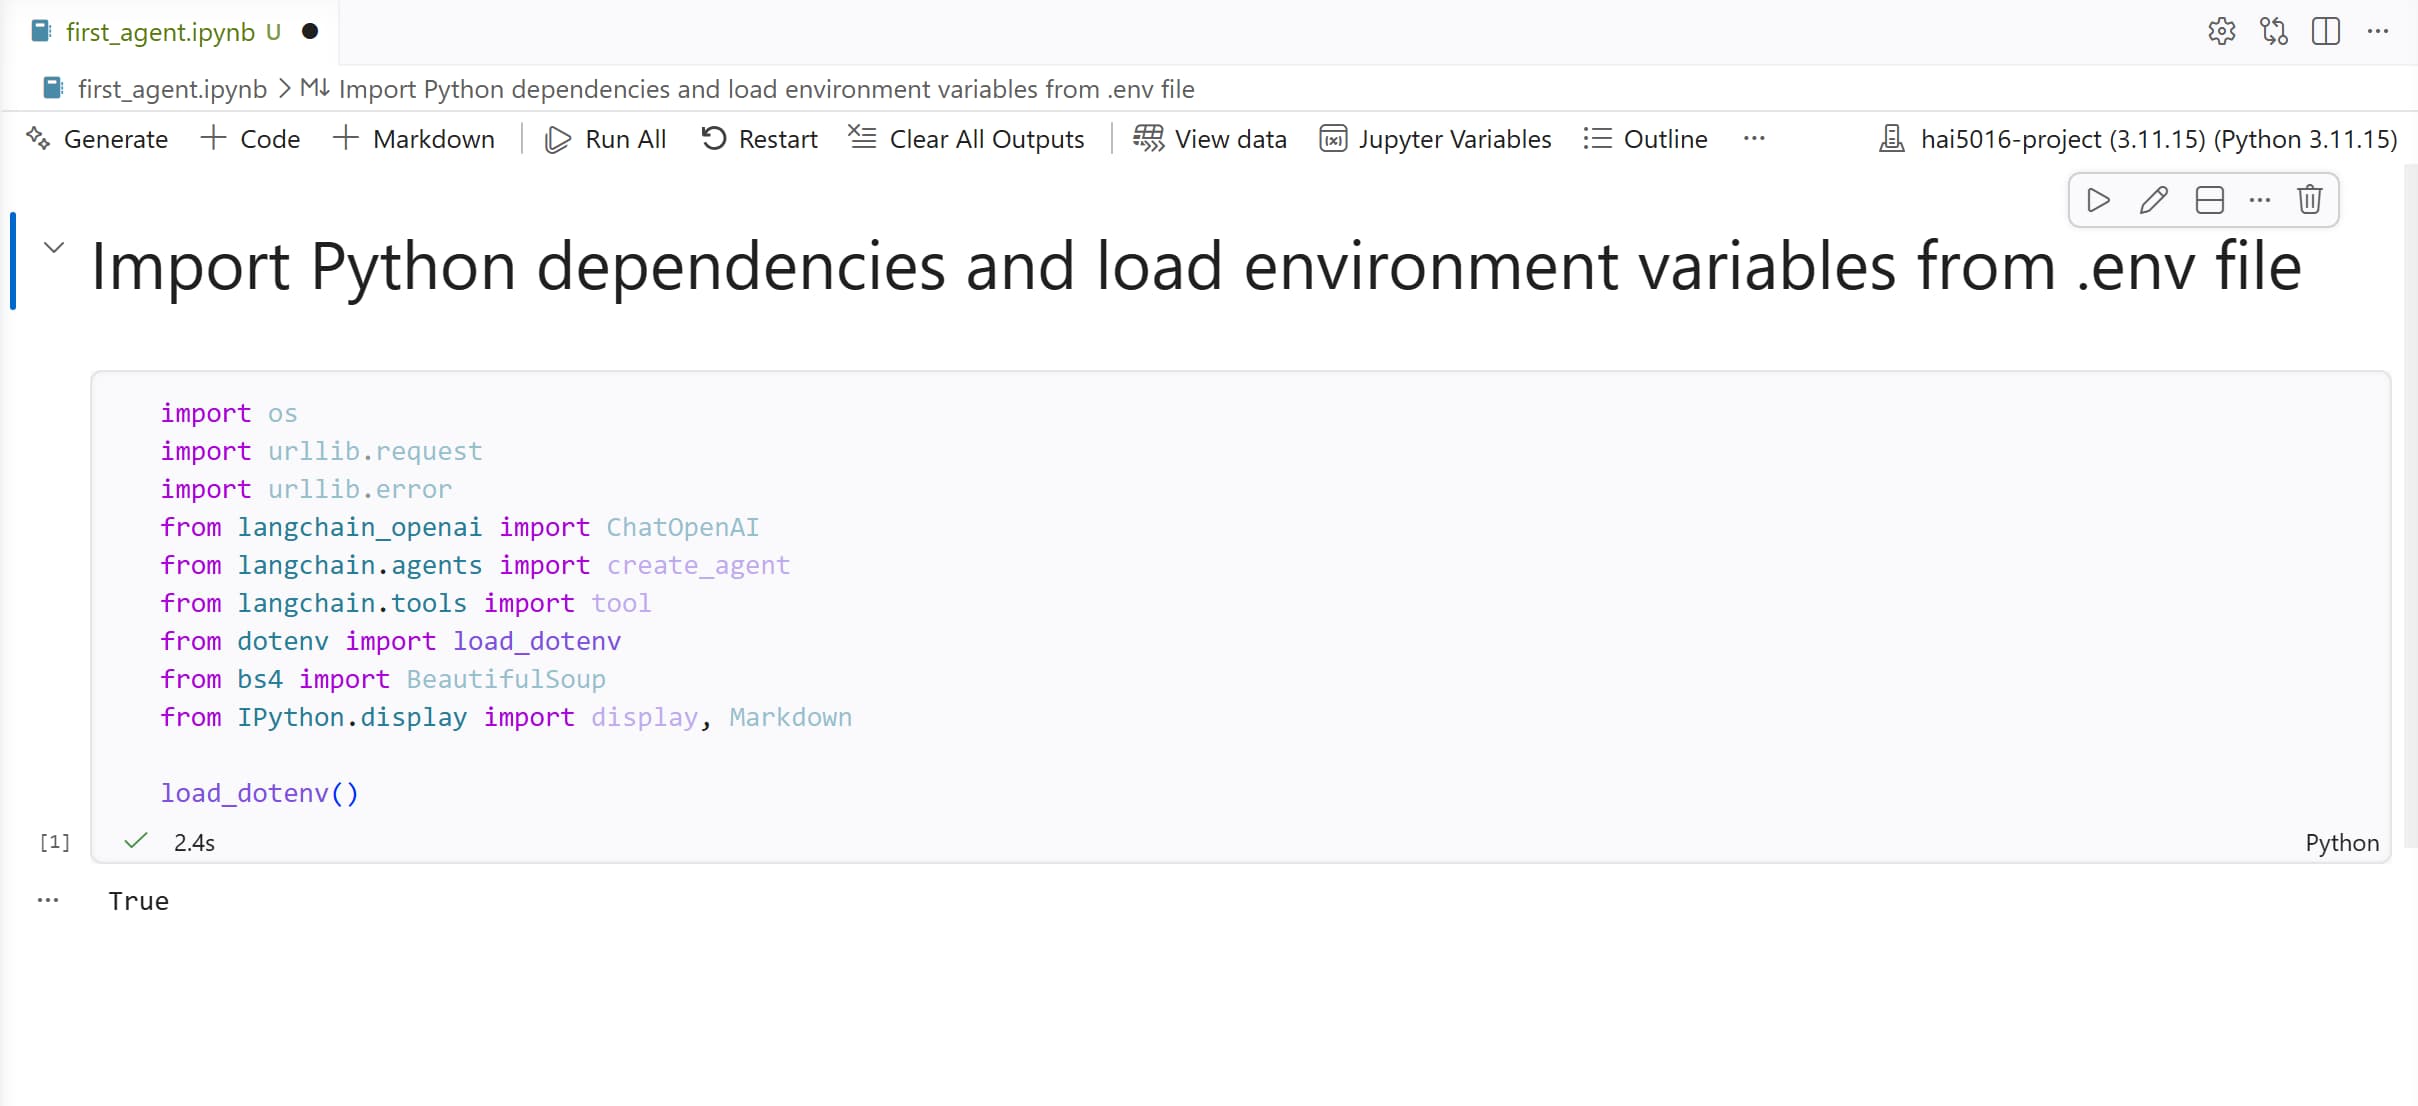 True-ly loaded the environment variables
2. Initialize the LLM
We connect to the model we deployed on Azure Foundry in the previous class. The credentials are loaded from the .env file in your project folder.
Rename Environment Variables
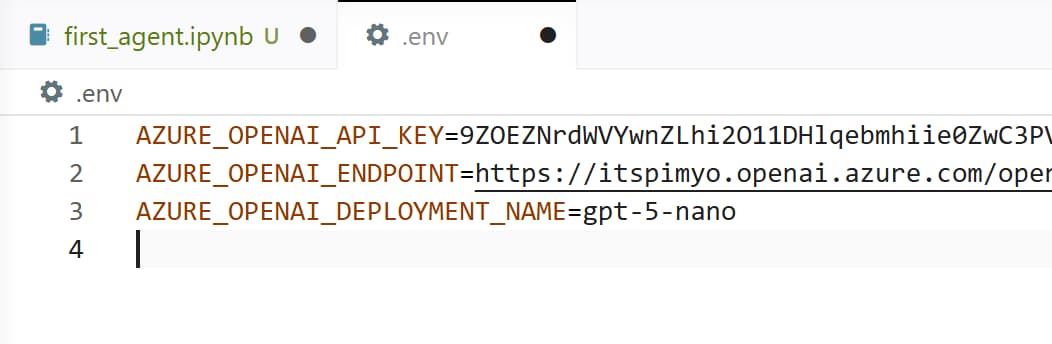
First, let’s rename the environment variables to match the Azure OpenAI SDK we’re using, because I used some non-standard names in the previous class. Update your .env file to have the following keys:
-
AZURE_FOUNDRY_API_KEY→AZURE_OPENAI_API_KEY -
AZURE_FOUNDRY_ENDPOINT→AZURE_OPENAI_ENDPOINT -
AZURE_FOUNDRY_DEPLOYMENT_NAME→AZURE_OPENAI_DEPLOYMENT_NAME
 Don’t skip this step, the new variable names better match with Copilot’s expectations
Now we can initialize the model in our notebook:
1
2
3
4
5
6
7
8

llm = ChatOpenAI(
    base_url=os.environ["AZURE_OPENAI_ENDPOINT"],
    api_key=os.environ["AZURE_OPENAI_API_KEY"],
    model=os.environ["AZURE_OPENAI_DEPLOYMENT_NAME"],
    timeout=300,
    temperature=0.5,
    max_tokens=25000
)
Let’s do a quick sanity check to make sure the connection works:
1

llm.invoke("What is the capital of South Korea?").content
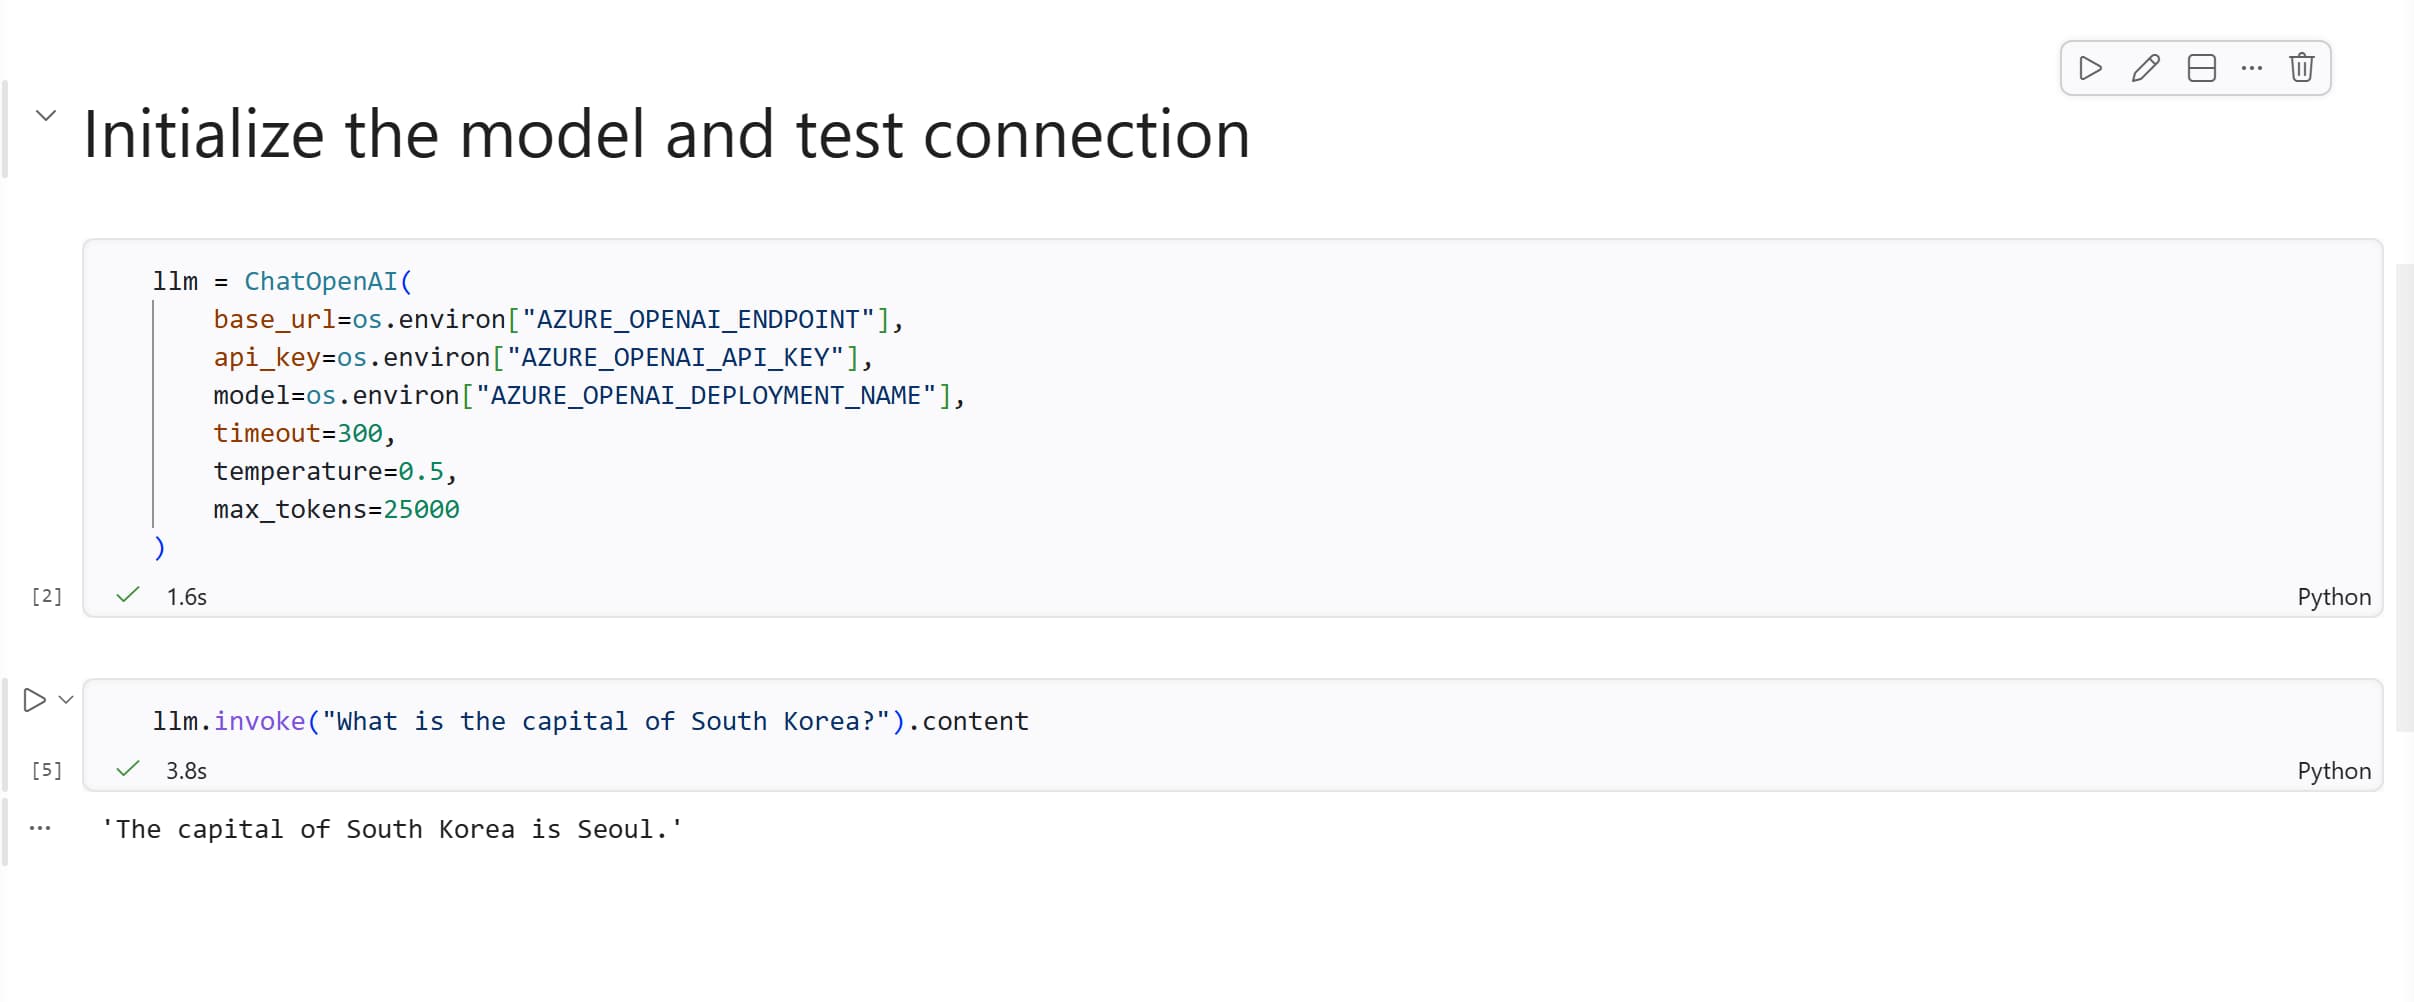 So. Not Busan after all.
If you get an authentication error here, double-check the
AZURE_OPENAI_ENDPOINTandAZURE_OPENAI_API_KEYvalues in your.envfile. The endpoint should contain something like.openai.azure.com/openai/v1
3. Create Your First Agent
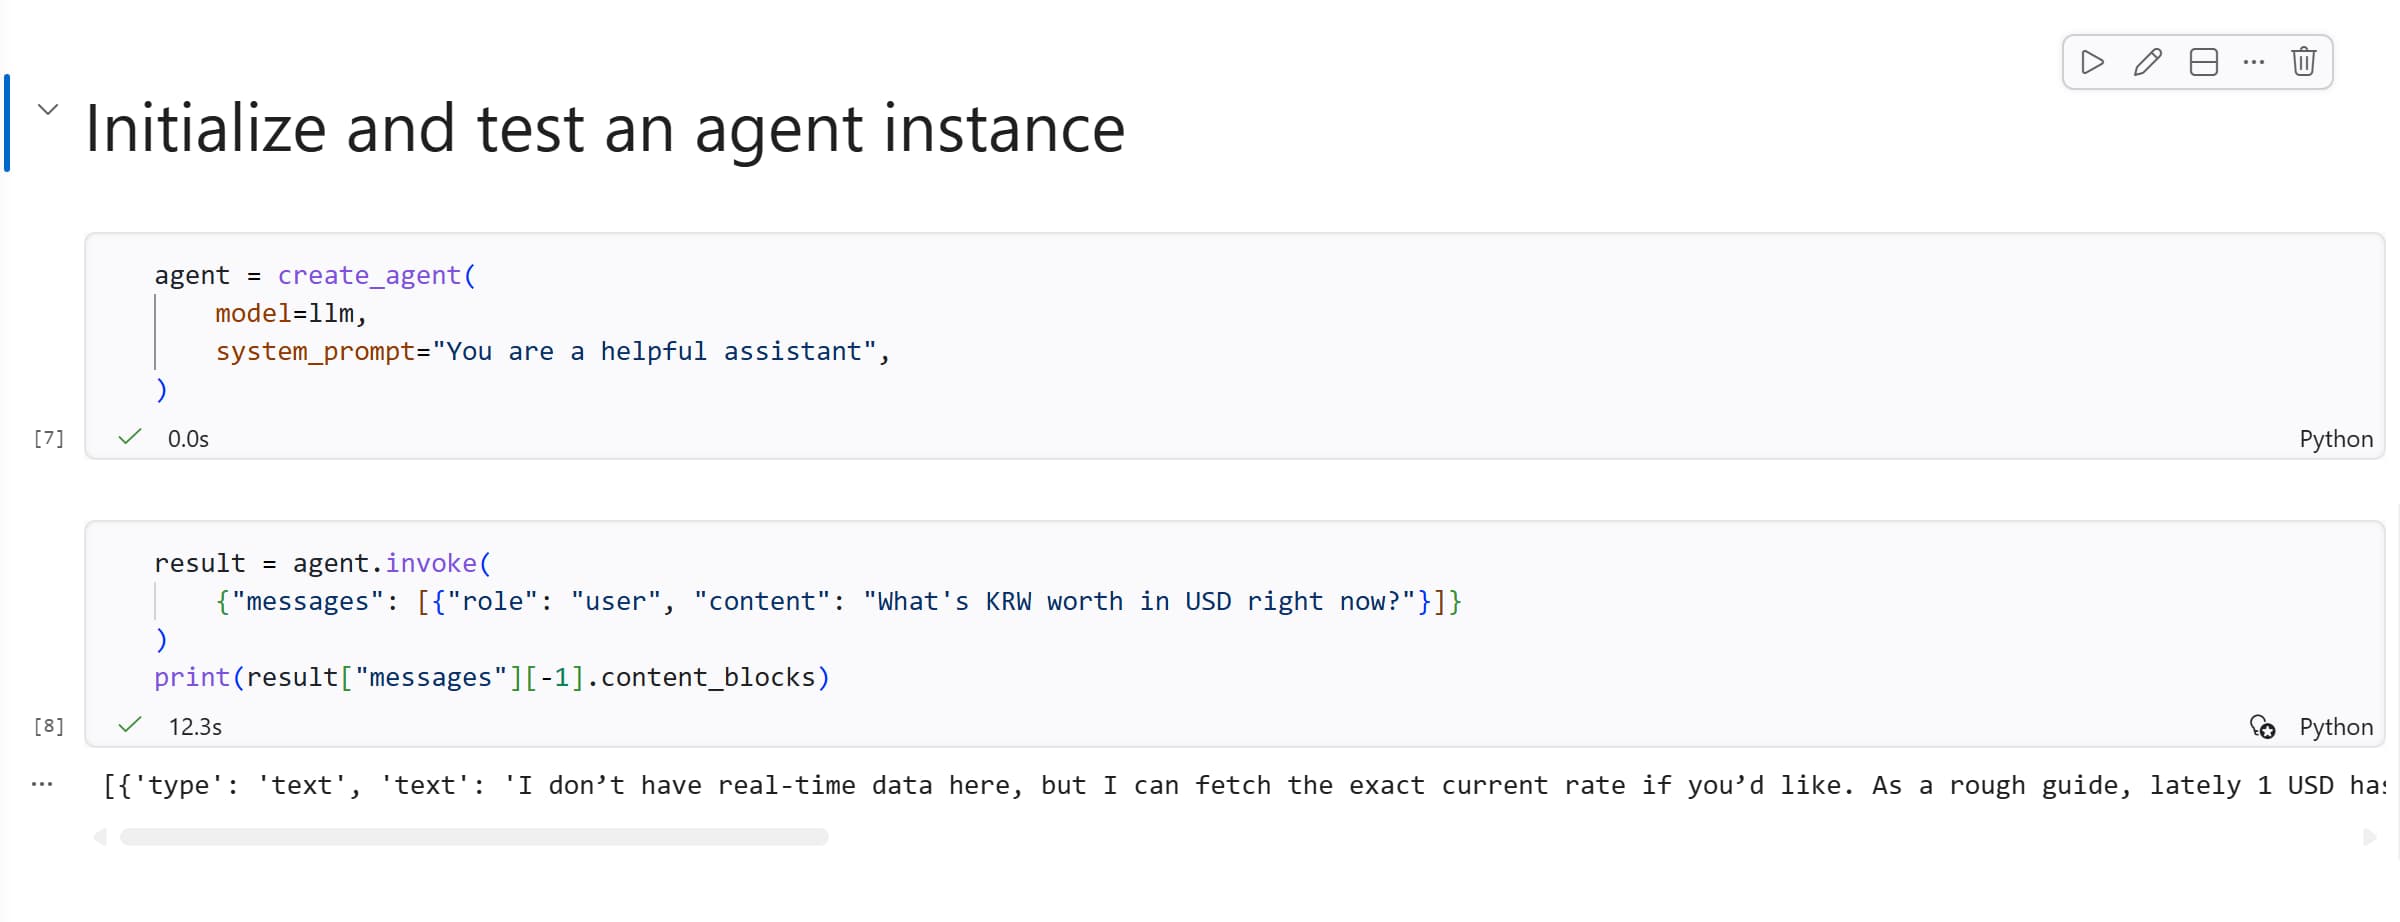
Now the fun part. With just a few lines we can turn our LLM into an agent:
1
2
3
4

agent = create_agent(
    model=llm,
    system_prompt="You are a helpful assistant",
)
Let’s test it by asking about something it cannot actually know: the live KRW/USD exchange rate:
1
2
3
4

result = agent.invoke(
    {"messages": [{"role": "user", "content": "What's KRW worth in USD right now?"}]}
)
print(result["messages"][-1].content_blocks)
You’ll notice that this request takes more time, while the agent will do its best. And then the answer seems to hard to read.
 Lately what?
Extra: A Helper Function for Readable Output
Agent results come back as a dictionary of messages, and the raw output can be a bit noisy. Before we continue, let’s create a small helper function. This function extracts just the final text and renders it as Markdown in the notebook:
1
2
3
4
5
6
7

def bfmsgs(result):
    """Extract and display text content from agent result messages."""
    text = "\n\n".join(
        block["text"] for block in result["messages"][-1].content_blocks
        if block.get("type") == "text"
    )
    display(Markdown(text))
Try it on the result we already have:
1

bfmsgs(result)
Much nicer, right? We’ll use bfmsgs from here on whenever we want to read an agent’s response.
 Beautiful!
Back to the answer we got: the agent is trying to be helpful, but it has no way to actually find out the current exchange rate. So it either makes a guess based on its training data (which is likely outdated) or it admits defeat and says it doesn’t know.
Let’s fix that.
4. Give that boy a Tool
In Langchain, a tool is just a Python function that the agent can call.
The simplest way to define one is to write a regular function with a clear docstring. LangChain uses the docstring to explain the tool’s purpose to the model.
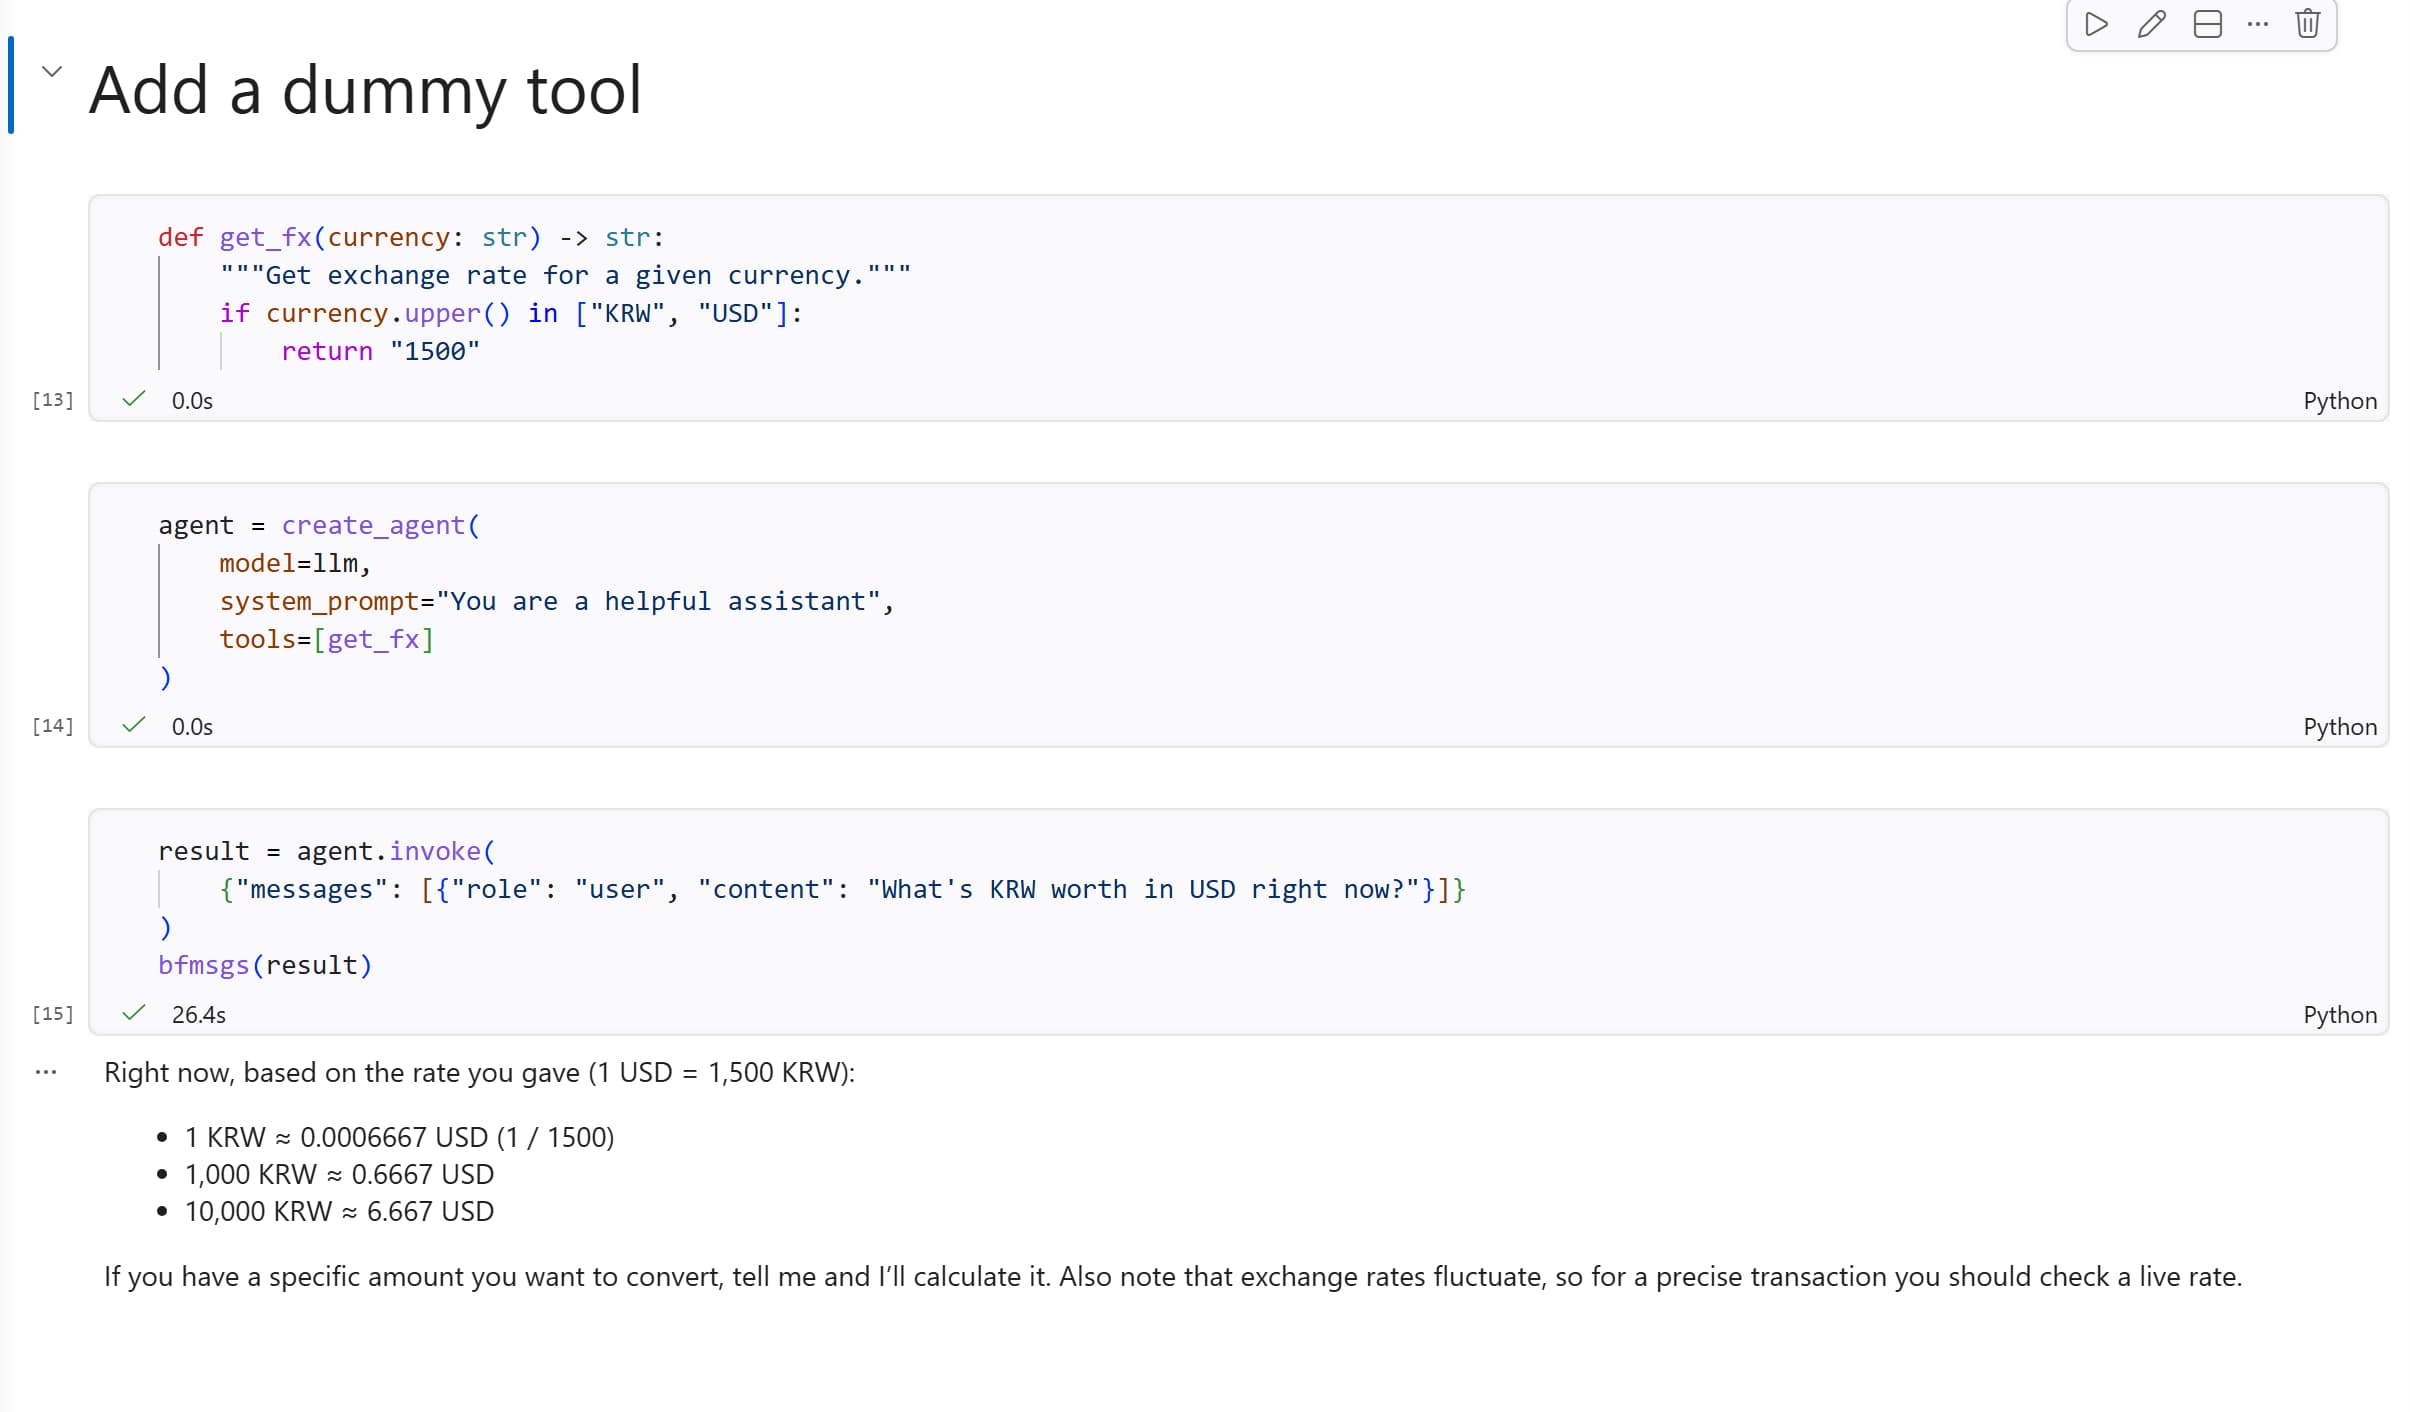
Let’s start with a dummy tool that always returns the same exchange rate (great for testing, terrible for trading):
1
2
3
4

def get_fx(currency: str) -> str:
    """Get exchange rate for a given currency."""
    if currency.upper() in ["KRW", "USD"]:
        return "1500"
Now recreate the agent and pass the tool in:
1
2
3
4
5

agent = create_agent(
    model=llm,
    system_prompt="You are a helpful assistant",
    tools=[get_fx]
)
Ask the same question as before:
1
2
3
4

result = agent.invoke(
    {"messages": [{"role": "user", "content": "What's KRW worth in USD right now?"}]}
)
bfmsgs(result)
This time the agent will call get_fx with the arguments KRW and USD, receives a note with "1500", and use that to construct its answer. You gave it a tool, it used it.
 Wish this were real money
- What happens if you change the value returned by
get_fxto something else, like “2000”? - What happens if you ask about a currency that the tool doesn’t support, like JPY? Try it out and see how the agent handles it. Try to fix it with Copilot in-line editing (ctrl+i or cmd+i) to make the tool return a more helpful message when an unsupported currency is requested.
Notice that we recreated the agent after adding the tool. The tool list is loaded in at creation time, so you can’t add tools to a running agent on the fly.
5. A Real-World Tool: Fetching Web Pages
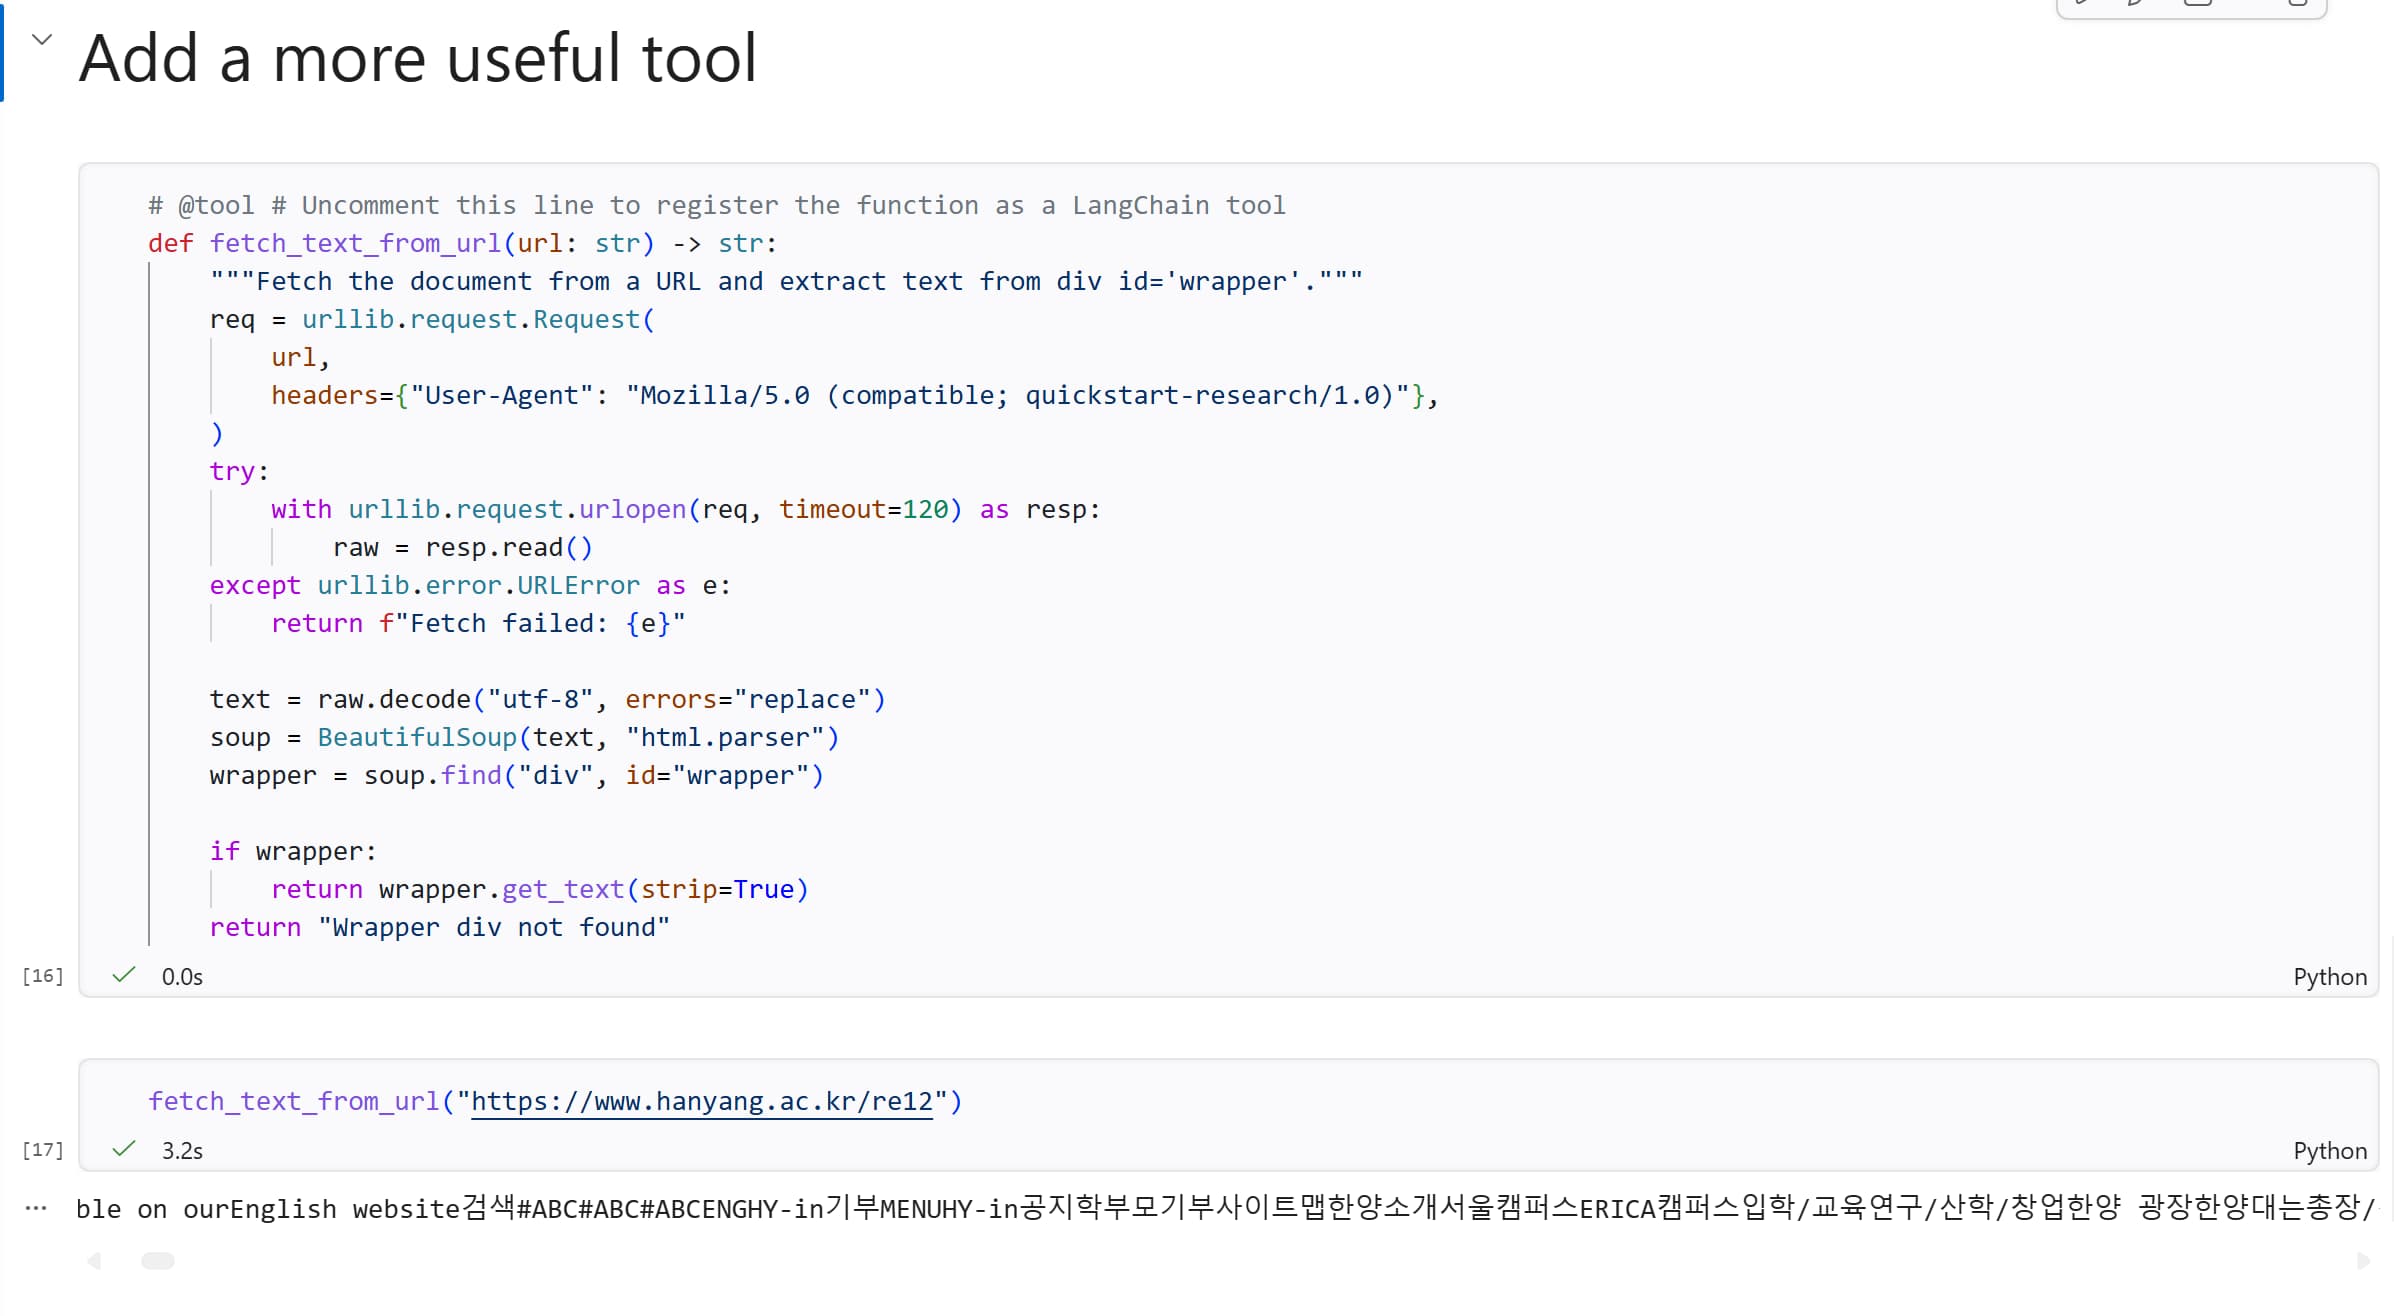
Dummy tools are fun to learn with, but let’s build something that actually touches the internet. The function below fetches a URL and extracts text (in div with id wrapper) from the page using BeautifulSoup:
1
2
3
4
5
6
7
8
9
10
11
12
13
14
15
16
17
18
19
20

# @tool # Uncomment this line to register the function as a LangChain tool
def fetch_text_from_url(url: str) -> str:
    """Fetch the document from a URL and extract text from div id='wrapper'."""
    req = urllib.request.Request(
        url,
        headers={"User-Agent": "Mozilla/5.0 (compatible; quickstart-research/1.0)"},
    )
    try:
        with urllib.request.urlopen(req, timeout=120) as resp:
            raw = resp.read()
    except urllib.error.URLError as e:
        return f"Fetch failed: {e}"

    text = raw.decode("utf-8", errors="replace")
    soup = BeautifulSoup(text, "html.parser")
    wrapper = soup.find("div", id="wrapper")

    if wrapper:
        return wrapper.get_text(strip=True)
    return "Wrapper div not found"
Notice the @tool decorator at the top — this is what registers the function as a LangChain tool so the agent knows it can use it. The docstring is crucial: it tells the model when to use this tool.
Before connecting it to the agent, test the function directly to make sure it works:
1

fetch_text_from_url("https://www.hanyang.ac.kr/re12")
You should see a wall of text from the Hanyang University cafeteria page. Not pretty, but exactly what we need.
 Out of its cage
To test the function directly without triggering LangChain’s tool wrapper, you can temporarily remove (or comment out) the
@tooldecorator. Just remember to add it back before creating the agent.
6. Ask the Agent About Today’s Menu
Now let’s build an agent with a proper system prompt and our new web-fetching tool. Let’s start with a system prompt that tells the agent what it is and what it can do:
1
2
3
4
5
6

language = "English"
SYSTEM_PROMPT = f"""You are a menu finder assistant. You can find menu information and prices from restaurant websites in Korea and provide it to users. Always answer in {language} and use the following tools below to fetch menu information.

## Capabilities

- `fetch_text_from_url`: loads website text from a URL into the conversation. Be aware of the structure of a website and extract only relevant information."""
1
2
3
4
5

agent = create_agent(
    model=llm,
    tools=[fetch_text_from_url],
    system_prompt=SYSTEM_PROMPT
)
And ask it the real question:
1
2
3
4

result = agent.invoke(
    {"messages": [{"role": "user", "content": "What's on the menu today at Hanyang University? Find it at https://www.hanyang.ac.kr/re12"}]}
)
bfmsgs(result)
What happens behind the scenes: the agent receives the question, recognises it needs to fetch a page, calls fetch_text_from_url with the URL, gets the raw text back, and then summarises the menu in a readable format.
Congratulations! 🎉
You just built a working AI agent that can read pages from the web on your behalf. In the coming classes we’ll explore how to give the agent more tools, a memory, and what else. But today we laid the very foundation for our Seoul Campus Menu Agent framework. Cheers 🍻
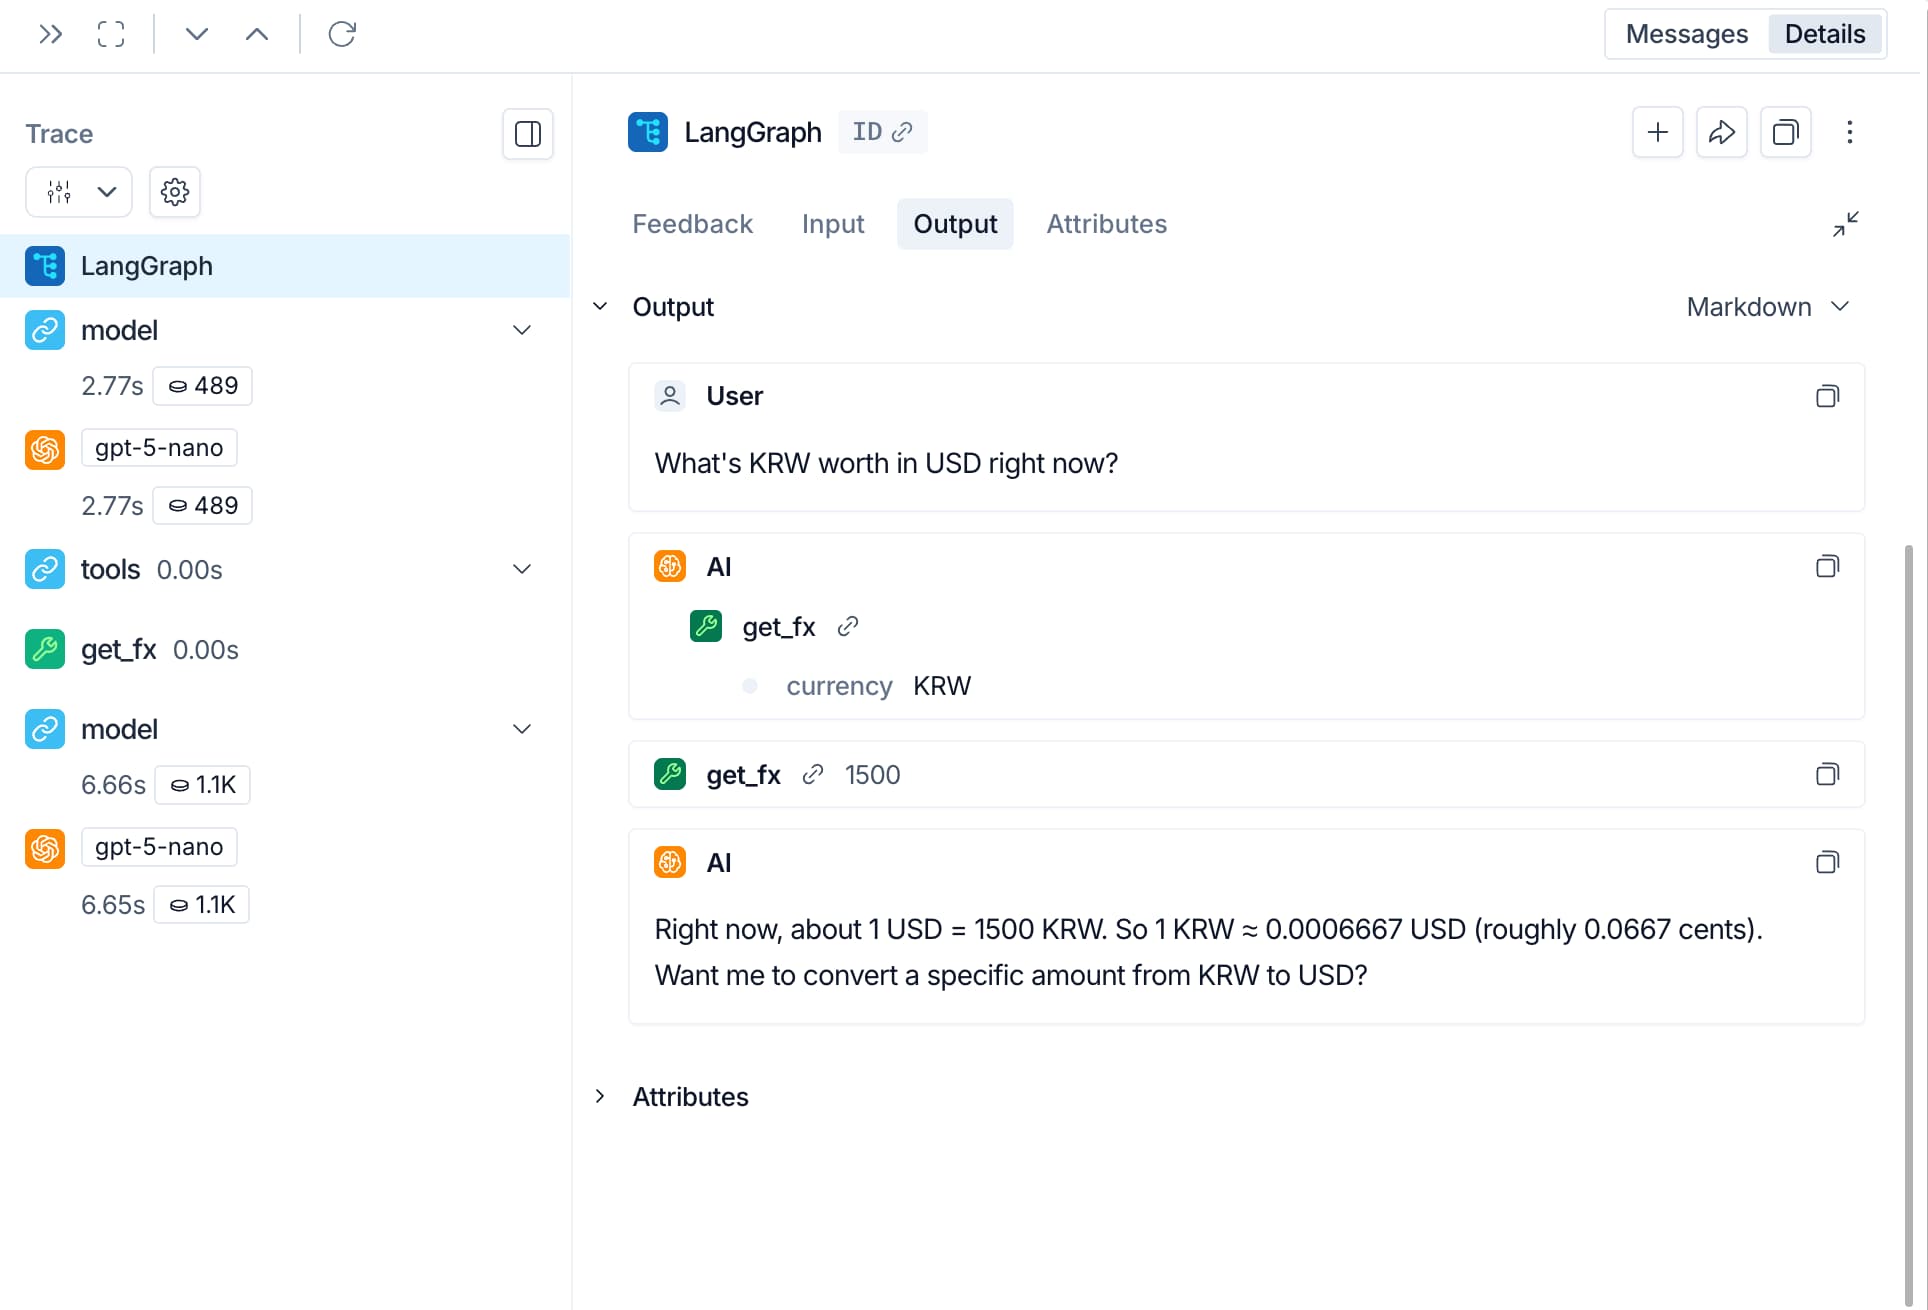
If time allows: Enable Tracing with LangSmith
If you’re curious about what exactly is going on when the agent decides to call a tool, you can enable tracing with LangSmith.
Sign up for a LangSmith account and set these environment variables to start logging traces:
1
2
3

LANGSMITH_TRACING="true"
LANGSMITH_PROJECT="HAI5016-Project"
LANGSMITH_API_KEY="..."
Once set:
- Make sure that you saved the changes to your
.envfile - Clear the output of your notebook cells (to avoid logging old runs)
- Restart the kernel to make sure the new environment variables are loaded
- Run your agent code again and then inspect what happened during your agent calls on LangSmith
 Behind the scenes
To learn more about tracing your agent with LangSmith, see the LangSmith documentation
References
Azure AI Foundry
LangChain
LangSmith